Started 09/02/2004 finished 11/06/04 Hours worked this
chapter :24.0
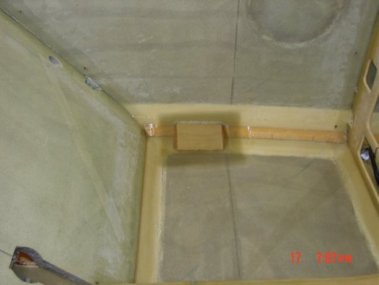
 To avoid a problem in chap 18 step 6 installing canopy hinges is done now.
The picture shows the hinges being held in place by the level until the flox
has time to cure. Next six bolts are installed through the
longerons. If you waited until chap 18 the shoulder support would be in the
way for one of the bolts.
To avoid a problem in chap 18 step 6 installing canopy hinges is done now.
The picture shows the hinges being held in place by the level until the flox
has time to cure. Next six bolts are installed through the
longerons. If you waited until chap 18 the shoulder support would be in the
way for one of the bolts.
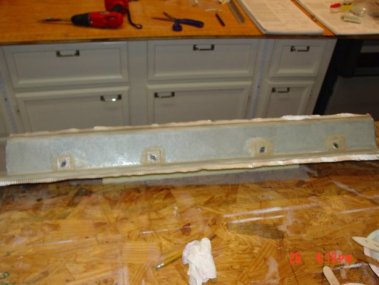 Glassing the inside of the shoulder support is done in a little different
way than the plans say.
Glassing the inside of the shoulder support is done in a little different
way than the plans say.
 While the glass is still wet I floxed in the nut plats and 1 1/4" aluminum
squares for the seat belts. I drilled a pilot whole in the center of each
nut plate through the wood and glass on the shoulder support so as to be
able to locate them when the shoulder support is mounted on the seat back.
While the glass is still wet I floxed in the nut plats and 1 1/4" aluminum
squares for the seat belts. I drilled a pilot whole in the center of each
nut plate through the wood and glass on the shoulder support so as to be
able to locate them when the shoulder support is mounted on the seat back.
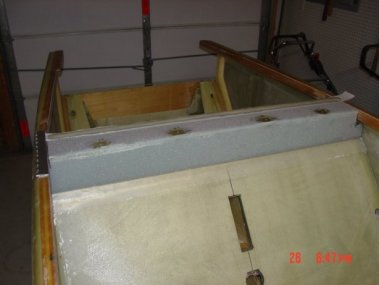
 Here you can see the shoulder support mounted on the seat back, and if you
look closely you can see the pilot holes. To keep the epoxy out of the hole
during the 2 BID lay-up I put tooth picks in each hole and cut them off
flush with the 12 plies of BID in each hard point. I will drill them out to
the correct size once the 2 BID lay-up is complete using the pilot hole as a
guide to the center if each nut plate.
Here you can see the shoulder support mounted on the seat back, and if you
look closely you can see the pilot holes. To keep the epoxy out of the hole
during the 2 BID lay-up I put tooth picks in each hole and cut them off
flush with the 12 plies of BID in each hard point. I will drill them out to
the correct size once the 2 BID lay-up is complete using the pilot hole as a
guide to the center if each nut plate.
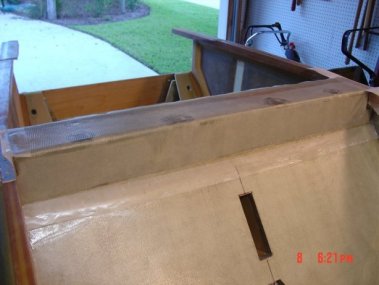 Shoulder support all glassed in with peel & ply on taped areas.
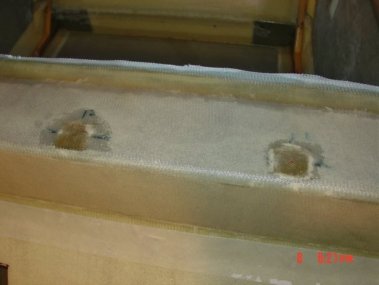 Hard points for seat belt shoulder supports. I put a small pilot hole in the
center of each nut plat and then drilled them to size after cure. I did not
have to cut slots in the shoulder support.
Hard points for seat belt shoulder supports. I put a small pilot hole in the
center of each nut plat and then drilled them to size after cure. I did not
have to cut slots in the shoulder support.
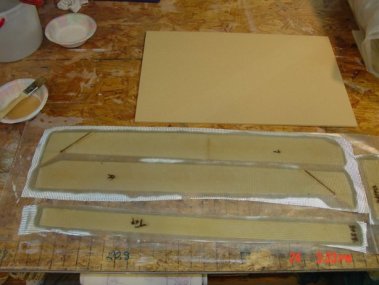
 Parts for the back section of the heat duct all ready to be glassed.
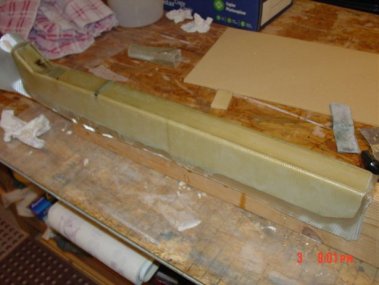
 Here you can see the transition part of the heat duct with the glass and
peel & ply on wax paper.
Here you can see the transition part of the heat duct with the glass and
peel & ply on wax paper.
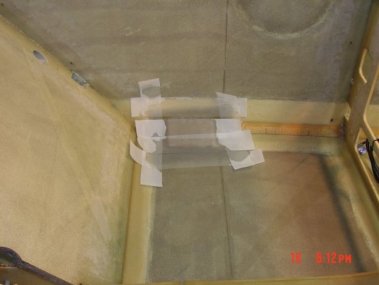
 Here
the inside gets glassed
Here
the inside gets glassed
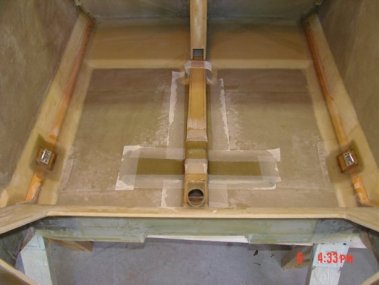
 Then
put together with flox and shirt pins. I found that pins work well for small
parts and are easer to pull out of the cured flox, less damager too. Sand the sharp edges
round so the glass will not bubble.
Then
put together with flox and shirt pins. I found that pins work well for small
parts and are easer to pull out of the cured flox, less damager too. Sand the sharp edges
round so the glass will not bubble.
 You
can see the seat hard point under the glass before the 7 layer reinforcement
lay-up is on.
You
can see the seat hard point under the glass before the 7 layer reinforcement
lay-up is on.
The next picture show the reinforcements for the seat belt
hard points.


 In this picture you can see the seat belt bolt that go though the lower
longerons.
In this picture you can see the seat belt bolt that go though the lower
longerons.
 Seat
belt bolts countersink.
Seat
belt bolts countersink.
 Here I have test fitted the seat belt aluminum connectors
I will purchase the step when I order all the metal part for
the next chapters from Ken Brock
Manufacturing. I will test fit the step with final installation during
the finishing process.
 This
seat belt hard point is larger then the other to accommodate the step
bolts, this finishes
chapter 8.
This
seat belt hard point is larger then the other to accommodate the step
bolts, this finishes
chapter 8.
On to Chapter 9.
