Started 2/22/2004 finished 5/23/2004 Hours worked
:72.5
 Here's the temporary firewall and f22 in for a test fit.
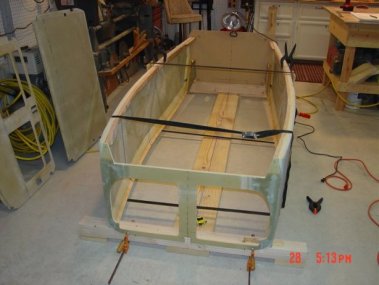
 I used strap-clamps to hold the side together in this test fit.

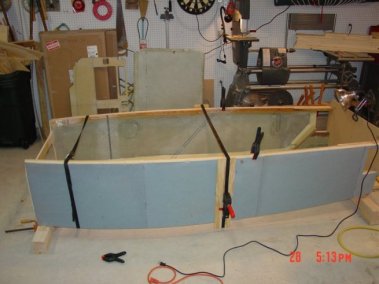
 Taking
off f22 and spreading the side a little I worked my way forward until I
finished with f22 back in place. The
strap-clamps work great
Taking
off f22 and spreading the side a little I worked my way forward until I
finished with f22 back in place. The
strap-clamps work great
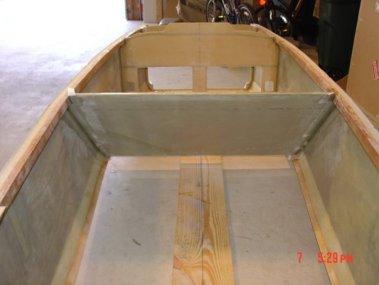
 Here you can see f28 and the canard reinforcement lay-up.
 All the joints have been taped and peel plied waiting for cure.
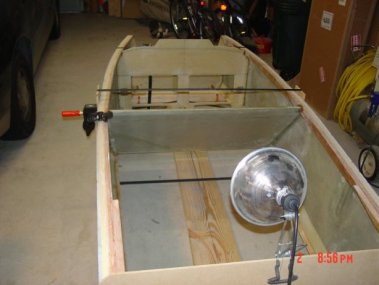
 To make sure that the aft landing gear was just right I used
5" spacers clamped in place.
To make sure that the aft landing gear was just right I used
5" spacers clamped in place.
 Floxed
and taped with peel & ply.
Floxed
and taped with peel & ply.
 Now
that the aft landing gear is cured I floxed, taped, peel & plied the forward landing gear using 8" spacer.
Now
that the aft landing gear is cured I floxed, taped, peel & plied the forward landing gear using 8" spacer.
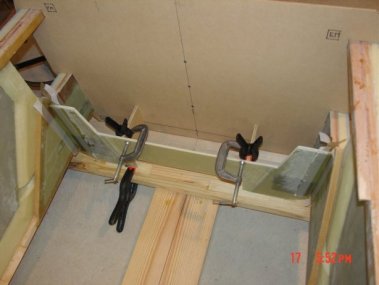
 Now I am putting in the upper have of the forward landing
gear. The sand bag and 2x6 is there to hold it in place during cure.
Now I am putting in the upper have of the forward landing
gear. The sand bag and 2x6 is there to hold it in place during cure.
 Turning over the fuselage I've taped and peel & plied all the landing gear
joint and added the reinforcements, re-drilling all holes.
Turning over the fuselage I've taped and peel & plied all the landing gear
joint and added the reinforcements, re-drilling all holes.
 Now
the that the landing gear are in place it's time to put on the permanent
firewall - floxed, taped and peel & plied.
Now
the that the landing gear are in place it's time to put on the permanent
firewall - floxed, taped and peel & plied.
 Using those same 5" spacer to make sure everything is right.
 Time for the center keel and seatback brace.
Parts cut and glassed on one inside.
Time for the center keel and seatback brace.
Parts cut and glassed on one inside.
 Floxed the heat duct all going well. A lot of little things to keep track
of.
Floxed the heat duct all going well. A lot of little things to keep track
of.
 Make a
paper copy of the fuel valve bracket, glued it to the
aluminum
Make a
paper copy of the fuel valve bracket, glued it to the
aluminum
 Here's the wooden triangle inserts glued back to back to make sure they are
the same.
Here's the wooden triangle inserts glued back to back to make sure they are
the same.
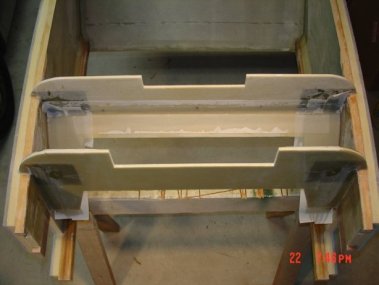
 Heat duct ready for the 7 plies of UND centered over seat
belt anchor.
Heat duct ready for the 7 plies of UND centered over seat
belt anchor.
 After that 2 ply of BID are applied to both the heat duct and
seat brace it time to install it.
After that 2 ply of BID are applied to both the heat duct and
seat brace it time to install it.
 I waited until I built the heat duct and brace before cutting the seat back,
make sure I had a good fit and did not remove to much foam.
I waited until I built the heat duct and brace before cutting the seat back,
make sure I had a good fit and did not remove to much foam.
 Installed
heat duct and brace.
Installed
heat duct and brace.
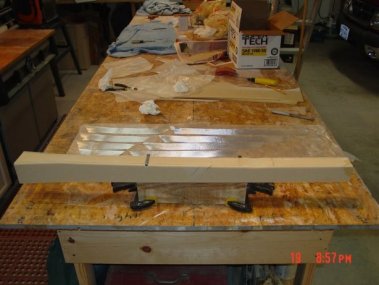
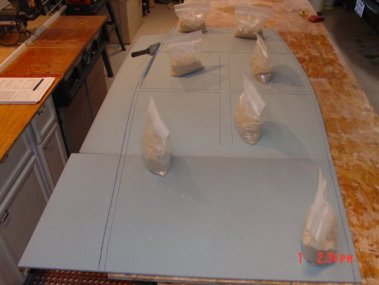 Building
the bottom is much the same as the sides. In this
picture you can see the Japanese saw that I use, purchased from Home Depot. It cuts
on the pull stroke and has a very small kerf. Best saw in the shop.
Building
the bottom is much the same as the sides. In this
picture you can see the Japanese saw that I use, purchased from Home Depot. It cuts
on the pull stroke and has a very small kerf. Best saw in the shop.
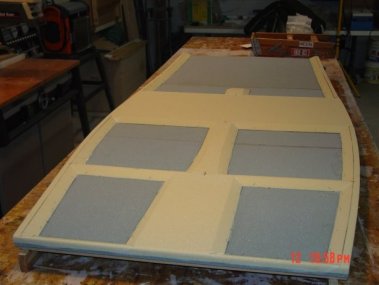 Building
up the bottom foam.
Building
up the bottom foam.
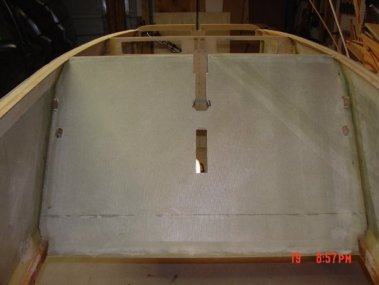
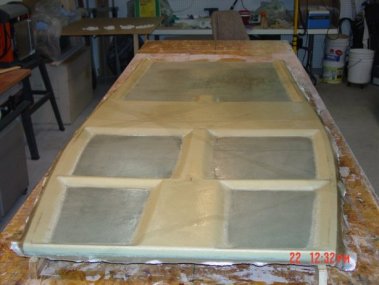 Bottom
glassed ready to be put in place.
Bottom
glassed ready to be put in place.
 Bottom weighted down during cure.
The underside is taped and peel & plied.
Bottom weighted down during cure.
The underside is taped and peel & plied.
On to chapter 7.
