Started 5/18/2003 finished 10/5/2003 Hours to complete:66.5
I took my time so that I could learn, I had never worked with fiber glass
and epoxy before. At this time I feel more confident about working with
these materials, and I am having fun too. When I first got the foam out to
work with it I couldn't believe that it would be strong enough to do the
job, will I was wrong it's amassing!
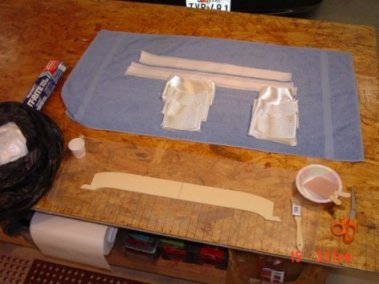
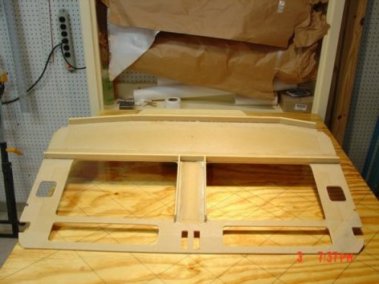
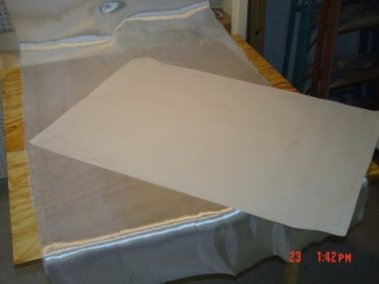 Seat
back drawing
Foam after 5min glue up
Seat
back drawing
Foam after 5min glue up
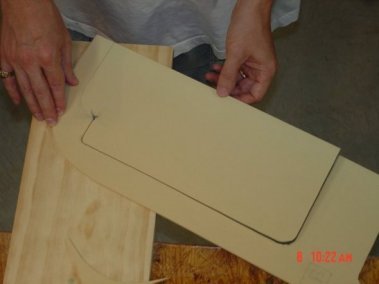
 Seat
back foam, first peace of aircraft.
Seat
back foam, first peace of aircraft.
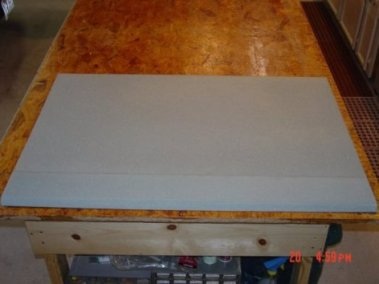
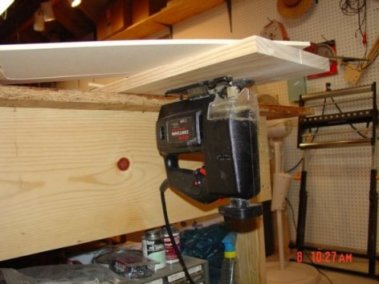
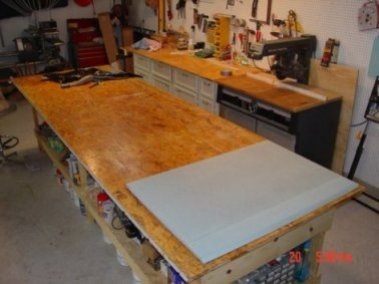 The
large workbench sure make it nice, I would of never thought of build one of
this size.
The
large workbench sure make it nice, I would of never thought of build one of
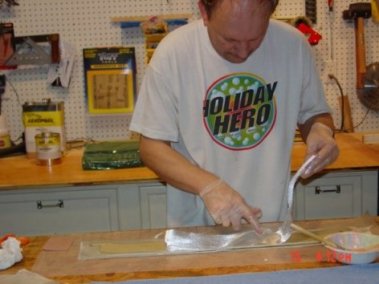
this size.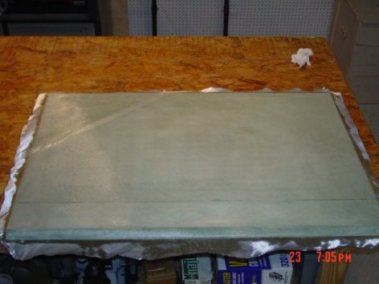 Glass
one side
Glass
one side Weight
down to keep flat.
Weight
down to keep flat.
 I
am going to wait until I get to the point (Chap. 6) of installing the map
pockets to get the size just right. I have noticed on other builders web
site that they had some mismatch size problems.
I
am going to wait until I get to the point (Chap. 6) of installing the map
pockets to get the size just right. I have noticed on other builders web
site that they had some mismatch size problems.
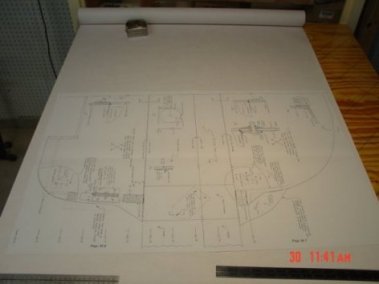
 Clark foam layout.
 Jig saw could not handle the
sheet size so I made this jig, works great. I thought it would be easer to
move the foam not the saw.
Jig saw could not handle the
sheet size so I made this jig, works great. I thought it would be easer to
move the foam not the saw.
 Cutting foam with razor tooth blade gives a smooth cut.
 Close up of blade
 If
you look close you might notice that F28 is to short, it was but with glass
and foam you can always fix it.
If
you look close you might notice that F28 is to short, it was but with glass
and foam you can always fix it.
 Forward bulkheads F28
 F22
F22
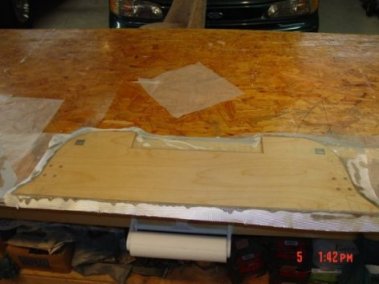
 Doubler's weighted down.
Instrument Panel:
 Cutting
parts
Cutting
parts

 Hinge
method used to assemble the IP parts
Hinge
method used to assemble the IP parts

 Added
stiffener ribs.
Added
stiffener ribs.
After I glassed the stiffener ribs I found a problem, the glass has been pushed away
from the foam, so I sanded it and put on a replacement peace of glass.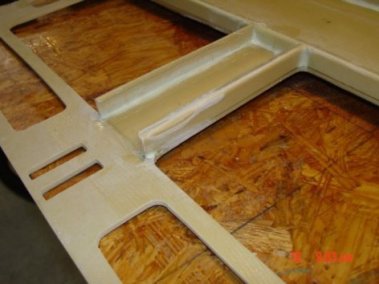
 Landing
gear bulk head, the large green part are the solid glass attachment points.
Landing
gear bulk head, the large green part are the solid glass attachment points.

 The two
peel & ply strips are where the reinforcement lay-up edges are. This made
for a smooth transition.
The two
peel & ply strips are where the reinforcement lay-up edges are. This made
for a smooth transition.


 Final
lay-up of landing gear bulk head.
Final
lay-up of landing gear bulk head.
 Firewall: print tracing
 Tracing on to plywood
 Cutting the plywood parts
Firewall top
Cutting the plywood parts
Firewall top Top
of Firewall
Top
of Firewall
 Glassing the top
 Glassing the two center part after the blind screws are installed.
 Bottom with engine mounts hard points and the blind screws.
On to Chapter 5
