 |
||
|
Cozy Construction Chapters.
|
Chapter 24 - Covers, Armrests, Seats & FairingsStarted 09/11/2007 finished xx/xx/2018? Hours worked this chapter : 88 Working on the interior while it is easy to lay the fuselage on its side.
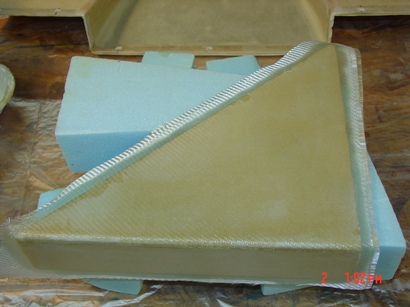
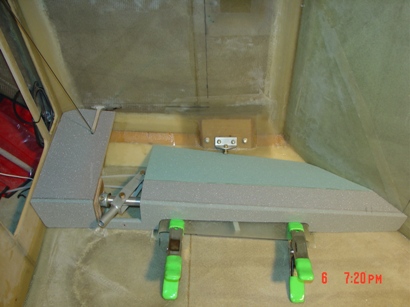
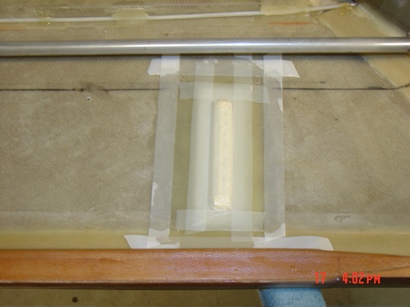
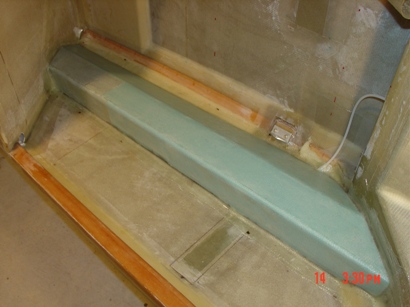
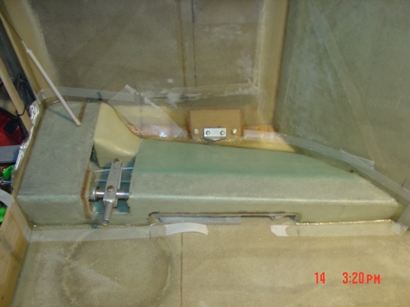
Glassing cover for the speed brake linear actuator. See more about the installation of the actuator in Chap 9.
Glassed in the cover with packing tap on fuselage for release, used screws to make it removable.
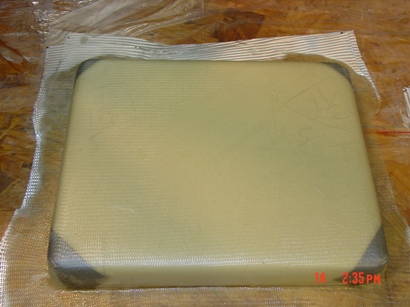
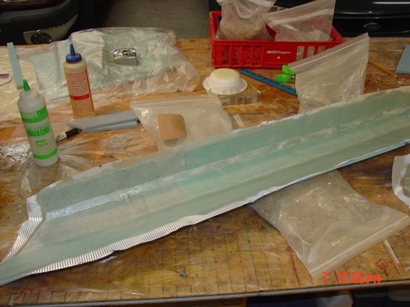
Glassing the back center consol foam
Glass the front center consol foam
Creating map pocket using two ply of bid, this lay up is cut in two for each armrest map packets.
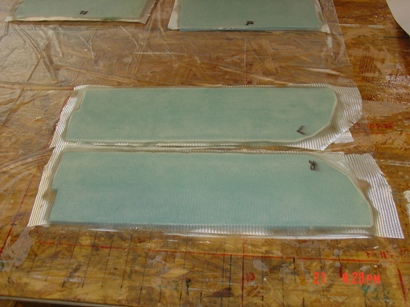
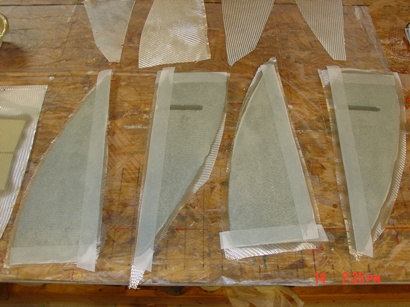
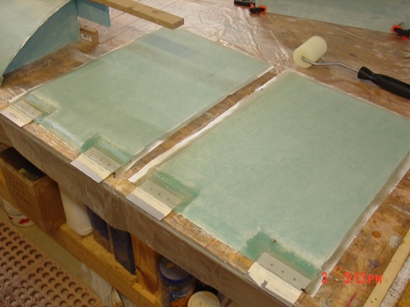
Glassing the seat leg support parts
Also in these pictures you can see the plastic on the workbench, it's cut up garbage bags.
Glassing the backseat backs, fronts and leg support parts.
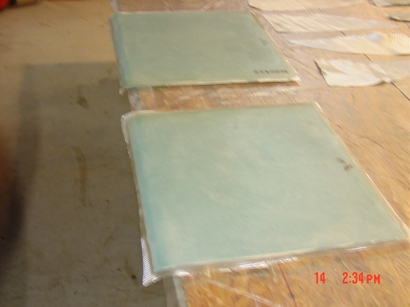
Glassing the backseat bulkheads
Glassing the bottom of the front seat before mounts to the supports to get the proper cure.
Test fit the armrest foam over the installed map packet. The foam is glued up using 5 minute epoxy.
Adding hard points for the back seats hinges that get pop rivets in the bottom of the fuselage. Due to the other hard points only one more needed to be added, the others where from the seat belt hard points.
Floxed the edges of the back seat, used a 1/2 sanding tool to remove the foam came out real nice and clean.
Test fit and glued up the foam part for the back seat armrest.
Installed the fuel site gauge, I will also install fuel probes as the primary with these as a backup.
Shaping the foam, used a block of scrap foam to smooth and fine tune the shape. Every time I do this I tell myself that this foam will be strong when the glass is added. When Nat say no special tools required he mean it.
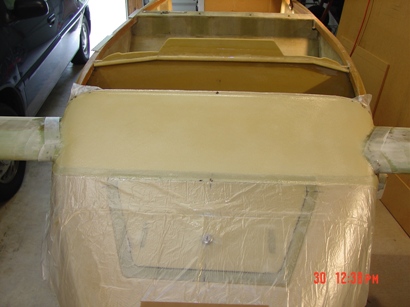
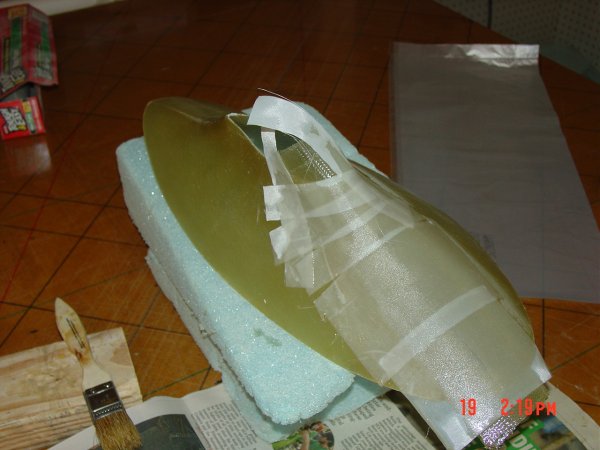
Glassing the canard fairing
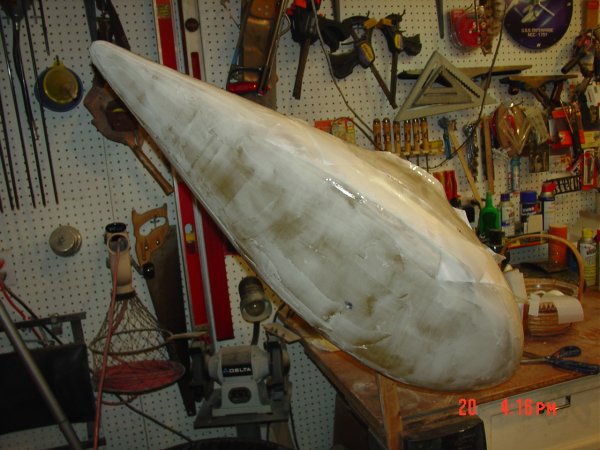
Building the leading edge of fuel cell.
Adding the filler for the surface between the wing root and fuel cell.
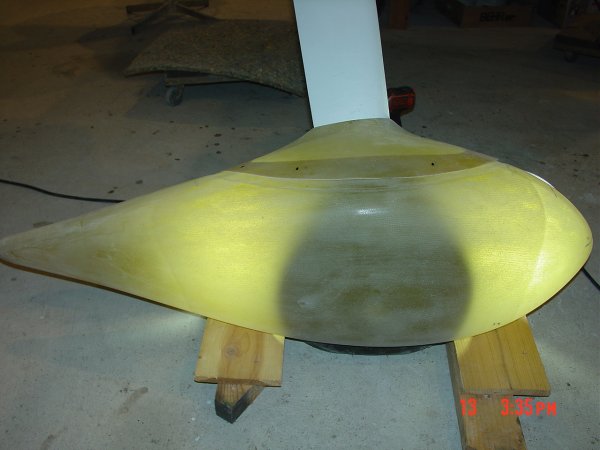
Leading edge work on the bottom.
Shined a light through the glass so I can see the location of the tire.
Pants for the co-pilot side, cut out for wheel on half of the part.
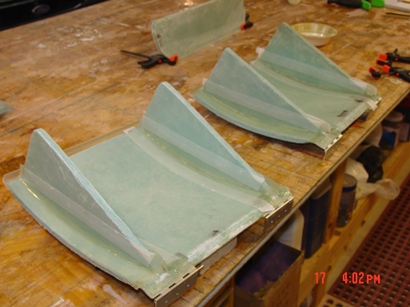
As you can see this is a molded part I getting it ready to test fit.
Inside half that will be mounted to the landing leg.
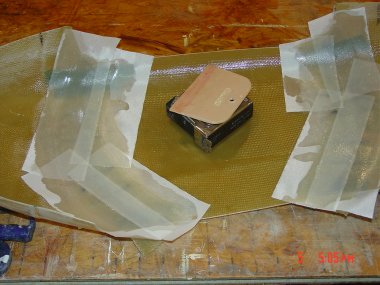
Leg fairing glassing flange added for mounting nut plates and screws.
Cut the wheel opening added sticks at the joint of the two halves that helps alien the joints
Glassing the flange for mount plates.
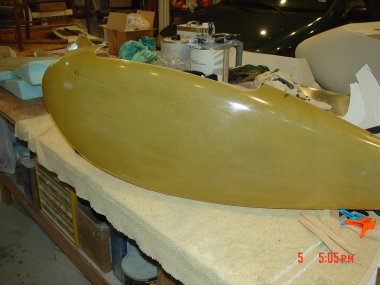
In this picture you see how shinny the pants are, will need to sand before macro fill.
Glassing a flange for the mounting plates, this will allow me to take this off the leg if required.
Assembled, starting the macro fill. Garbage bags used to keep the part separate.
Next step is sanding and more sanding. More to come |


 Here
you can see how I shaped the underside of the fairing. I hot glued 36 grit
sand paper, then I slid the block of foam back and forth until the shape of
the canard was just right. To complete the underside I glued two more
strips of foam at the back f28 and just in front of the canard leading edge.
Here
you can see how I shaped the underside of the fairing. I hot glued 36 grit
sand paper, then I slid the block of foam back and forth until the shape of
the canard was just right. To complete the underside I glued two more
strips of foam at the back f28 and just in front of the canard leading edge.


This site was last updated 04/18/18