Cozy Home | Project Status |
Chapter - 4 5 6 7 8 9 10 11 12 13 14 15 16 17 18 19 20 21 22 23 24 25 26
| CHAPTER 23 | |
|
The upper and lower cowling were reasonably easy to fabricate. The pictures and dialog on this page show the steps I went through to complete my cowlings. It's not rocket science and the results are pretty good. If I had it to do over again I would have spent more time in design and planning on the final shape of the cowlings. I was pretty much making up the shape as I went and that worked reasonably well for most of it. It's the parts that it didn't work well on that concern me!! But as we say - it's a plastic airplane - there isn't any mistake that pretty much can't be cut out and replaced! |
|
| Lower Cowl (Started January 22, 2004 - Note - the airplane is upside down in all the lower cowl pic's below.) |
|
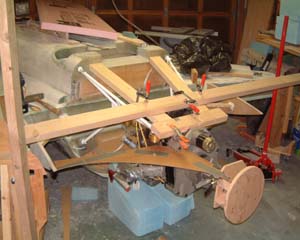 |
First step in bulding my cowl was actually done when I had the wings attached - that was to put those wing root templates on that you can see on the left and right of the engine area and attached to the spar. These give a reference of where the wing surface is. The next step is to create and skeleton of wood around the engine and at the aft edge. I have a 2x4 leveled across and above the wing trailing edges and have cut some cardboard as a template for the curvature between the wing and the spinner. I bondo'ed a couple of 2x4's to the lower firwal (top of this picture because the plane's upsidedown). I screwed some flexible metal straping aroung the engine mount and the other end of those 2x4's. |
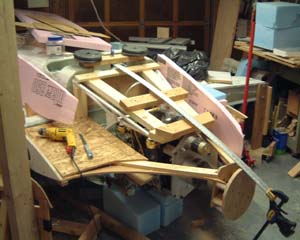 |
More of the skeleton is in and here I'm trying to gage a gentle curve from the NACA duct to the spinner. |
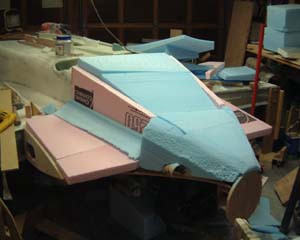 |
Skeleton is complete to within 1 to 2 inches of the estimated finished surface. Then I scrounged up leftover foam from the wings and other projects and 5 minute epoxied it to the skeleton. I also too my best shot at where the exhaust will exit. Since I haven't got my exhaust system built - I measure out where it should exit and then cut a 3" diameter cardboard tube in half and epoxied it into the foam. |
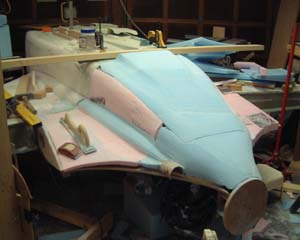 |
The pink styrene does sand as easily as the blue styrofoam - but it only took a couple of hours of sanding to get the basic shape. Then OOPS - there were a couple of low spots and I forgot to put foam in where I am putting some "arm-pit" scoops. So I tried some of that spray expanding foam (brand name "Great Stuff" at Home Depot) to glue some additional foam on and fill in some of the gaps and holes. I should have read other people's web sites (e.g. John Slade's) where he mentioned that you can't really sand that spray foam very well. Anyway, after lots of sanding and picking and cutting, scaping, etc. I finally got the finished plug to where I thought it should be. |
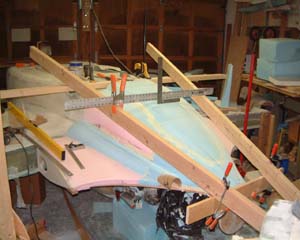 |
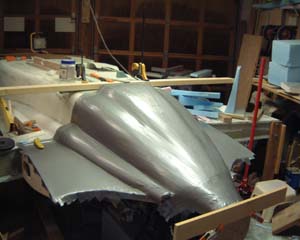
But I never trust my eyes when trying to gage whether something is level or a curve is uniform and the same on both sides. So I've set up a some reference points from which I can measure to check and adjust the finished levels. I have marked 5 inch increments on each of the 2x4's that run fore and aft up the cowl. Then I set my straight edge across those 2x4's and measure down at various stations across the cowling to make sure that the left and right sides are the same. |
 |
OK - I've decided it's about as good as it is going to get and am comitted to doing a fare amount of finish work on the cowlings any way - so it's time to figure out how to glass the cowling. Rather than try to finish the surface of the foam and then seal it and apply a mold release to that it seemed to me that I could just cover the entire surface of the foam with duct tape. The advantage of that is that the duct tape will span the minor cracks and gouges and when it comes time to try and get the cowling off the mold it doesn't really matter whether the duct tape lets go or not - duct tape doesn't stick to foam all that well and it will come off with the cowl. |
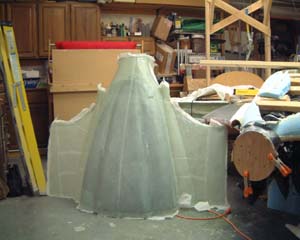 |
The deed is done. I was low on BID so I put: |
 |
Is it Spring already! Looks like a really ugly butterfly |
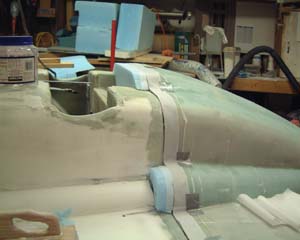 |
The advantage of building the cowling is that now I can put the cowling back on the foam mold and layup the lip all the way around the bottom right onto the canopy itself (well with a little duct tape in between for release). So here I have the NACA scoop foam and the "armpit" scoop foam in place (both sides). I layed up the 5 ply BID in a continuous strip on my workbench and then layed it over the entire seam from side to side. |
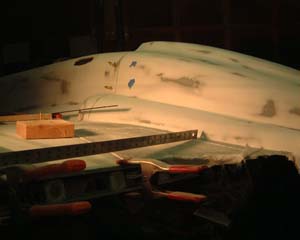 |
Ah, all is not well! Back in the first frame on this page you'll see that
I started with a frame that includes the wing root templates. That works great to get the profile
of the wing correct on the cowl - BUT it does nothing to help with the "plane" of the wing. So,
while the wing profile / curve was perfect - the surface of the cowl sloped up drastically from the
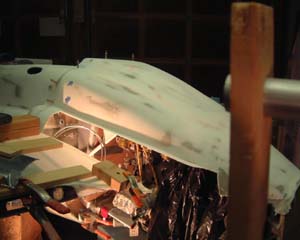
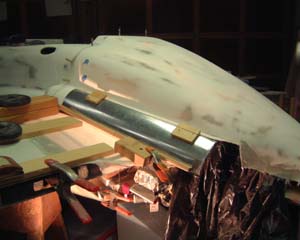
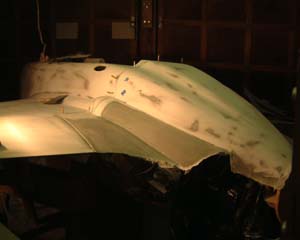
level of the wing. So, below is the fix. While I was going to do major surgery on the cowling anyway I decided to increase the size of the cooling outlets as well. The original plan was to put some slats in the bottom cowling to increase the output area and maybe put a sliding cover so I could have "cowl flaps" that varied the amount of air allowed to go through the cowling. But - it will be a lot easier to just make the outlet "tubes" bigger. |
|
|
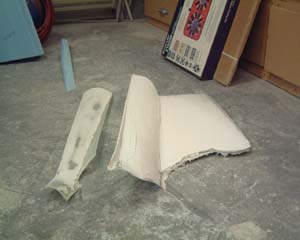 |
OK - no one said I was consistent! I used the same jig for making the air outlet larger for both sides of the cowling. However, something got lost in the translation from the left side to the right side because after I was done - a couple days later I noticed that one side was narrower than the other. Sure enough it was very noticeable and had to be fixed ARGHHH! Oh well, a couple of nights and now both sides are the same. The picture at the left here is the original outlet duct and the goofed side that was too small (i.e. didn't match the other side). You can see the relative increase in size. |
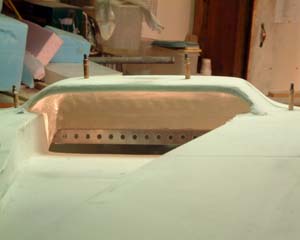 |
The final piece of the lower cowl was to build a scoop inside the cowl to divert the incoming air up to the radiator. (My radiator is at an angle sloping up from about 8" behind the firewall to about 1/4" from the firewall at the top.) I created a nice rounded duct and floxed and glassed it into the scoop opening in cowling. You can also see in the scoop one of the radiator rails that hold the radiator at the bottom. |
| Upper Cowl (Started May 22, 2004 - I've been doing finishing through Priming on the bottom fuselage and wings.) |
|
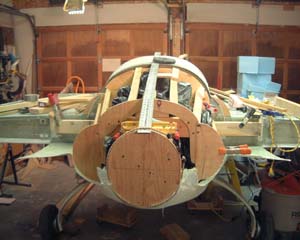 |
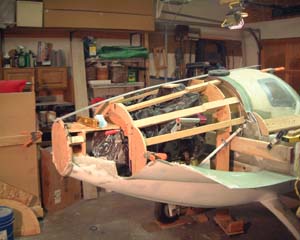
Just like the low cowling - it all starts with a frame that you can attach foam to. It seemed a little harder with the upper area to find good places to create support for a wood frame. I guess that's because there is the entire engine in the way! With the bottom about all you have to work around is the oil pan. |
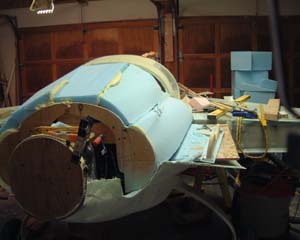 |
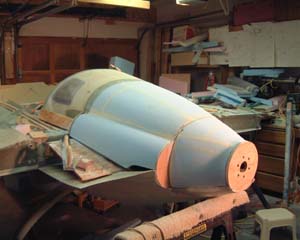
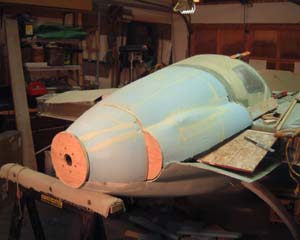
Rough chunks of surplus wing foam are "glued" in place with pour foam. No more "Great Stuff" / spray can foam this time. I learned my lesson from the lower cowling and only used real live pour foam. It turns into something resembling urethane foam and is easily shaped. |
|
|
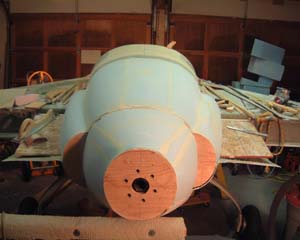 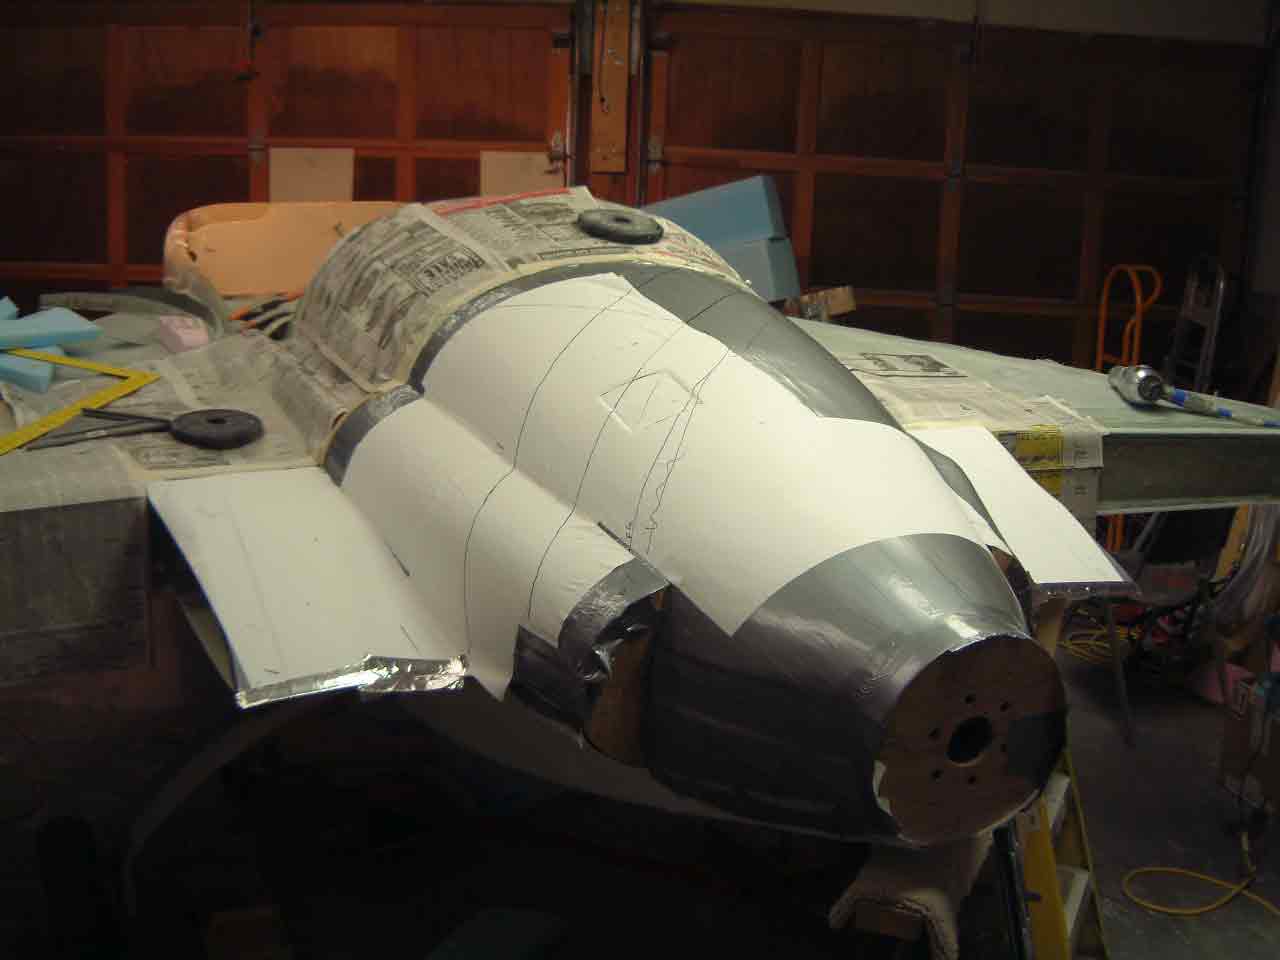 |
I'm ready to glass it. The foam was covered with duct tape - and I'm trying out some "Contact" paper - shelf liner over the duct tape on half of it to see how well that works as a liner under glass. Thr lines on the duct tape and contact paper are at 40 degrees to the firewall as a guide to laying down the fiberglass. (Turns out the "contact" paper worked well and not so well. I releases well from cured glass and leaves a nice texture - both pluses. However, on the minus side - the adhesive wasn't all that strong and there were a couple of places where it came up and put a wrinkle under the layup - which of course translates to a high spot on the finished product. Oh well, that's what micro is for! |
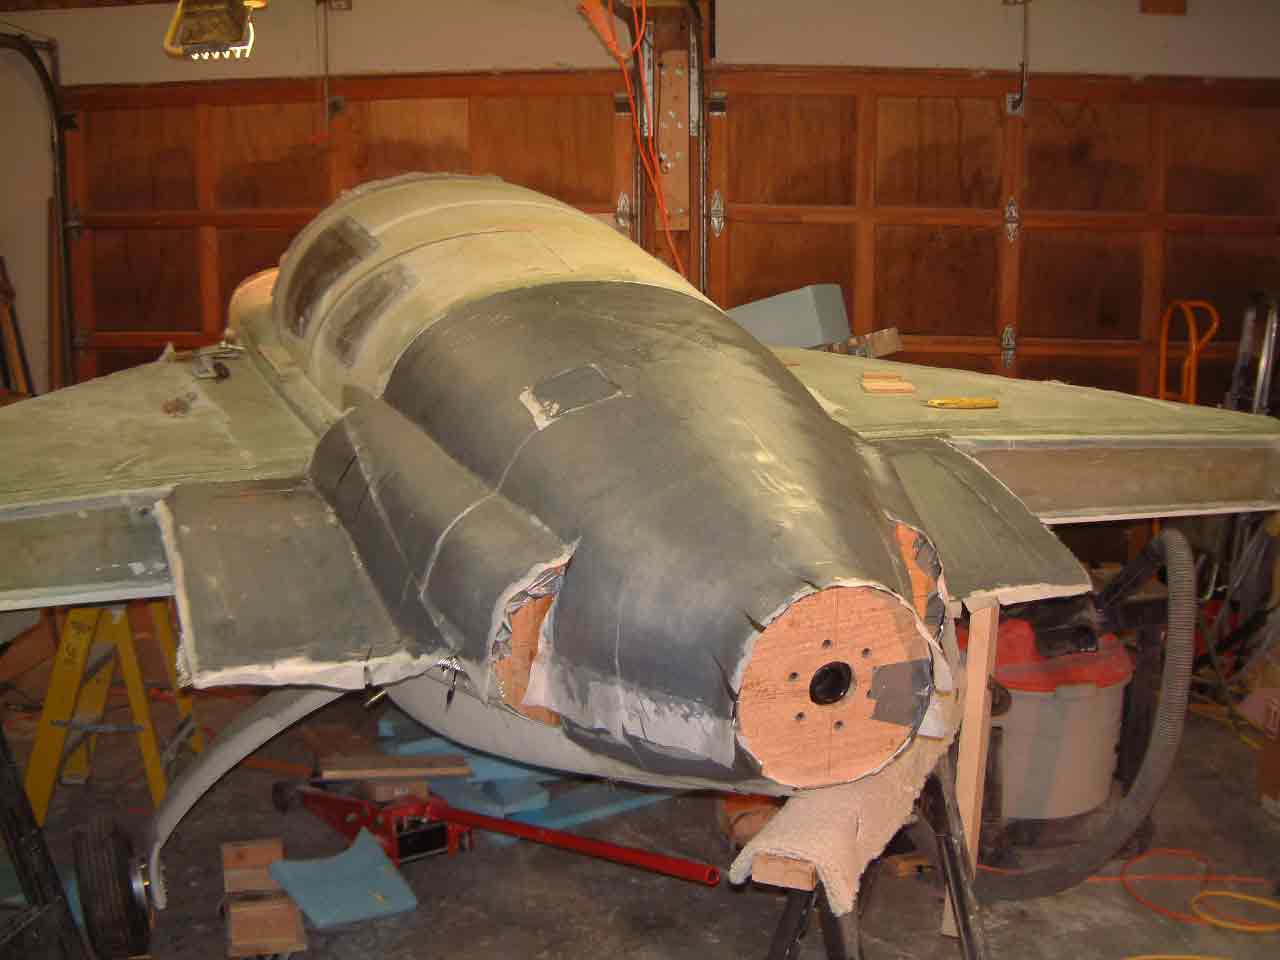 |
TA-DA! The finish product all peel-plyed. A tip for those that may build cowlings like I did. Do your finishing before you take the cowling off the foam mold. It is much easier to sand micro when there is something firm under the cowling. You can see a finishing shot of the upper cowl in Chapter 25. |
| Top | |