Cozy Home | Project Status |
Chapter - 4 5 6 7 8 9 10 11 12 13 14 15 16 17 18 19 20 21 22 23 24 25 26
| CHAPTER 20 | |
 |
The foam is ready to be glassed. I've prepared the trailing edge with peel-ply and lightly sanded the foam. |
 |
On the trailing edge I built a ledge from suspended ceiling angles. This will provide a straight and flat surface to off the trailing edge. It is attached with drywall screws and then topped with plastic tape for release. |
 |
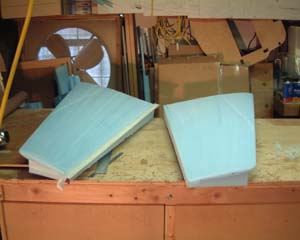
Here are the lower winglets - rounded and shaped as called for. |
 |
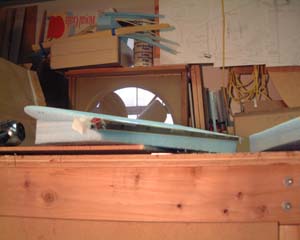
Winglets are glassed - without major incident - didn't forget the antenna! Here I'm jigging the winglet in place on the wing. |
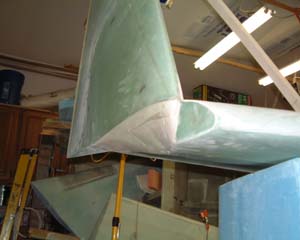 |
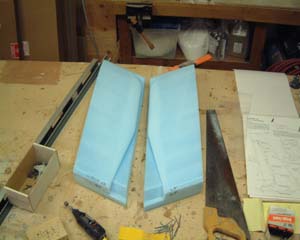
After the inside layups have been complete here is what it looks like before the lower winglet is installed. |
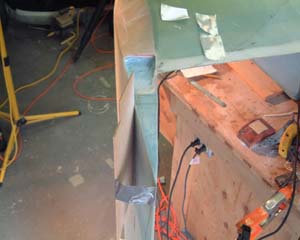 |
I've jigged up a piece of masonite to gage the travel of the rudder. I'm installing the hidden bellhorns and want to make sure I have enough clearance inside the winglet for the bellhorn and rigging. Cutting out the recess now before the lower winglet is attached is the way to go. If you go this route - make sure you cut out enough - I almost didn't. |
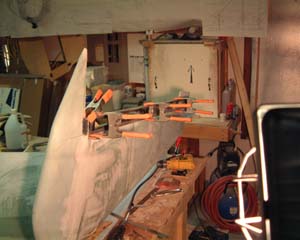 |
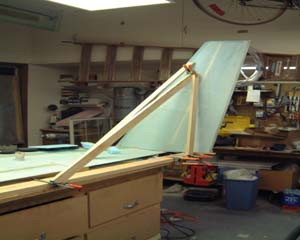
Here I'm preparing to mount the hinges. I've clamped a straight-edge (an old level frame) with the top edge flush with the rudder cut-out. Then I've clamped the aft hinge half to the top of the level. All 3 hinges are now in a straight line and in the same plane. (Well I hope they're in the same plane ;-) |
| The winglets took a lot longer than I had anticipated. I didn't finish the winglets until mid-April - almost 6 weeks. There are a bunch of major and semi-major layups and I spent a week or so (combined left & right winglets) in semi-finishing the winglets (note the micro in the last picture). I wanted to get the joint where the rudder is cut out basically finished while it was still one unit. That will make it easier in the final finish phase. | |
| Top | |