Cozy Home | Project Status |
Chapter - 4 5 6 7 8 9 10 11 12 13 14 15 16 17 18 19 20 21 22 23 24 25 26
| CHAPTER 5 - FUSELAGE SIDES | |
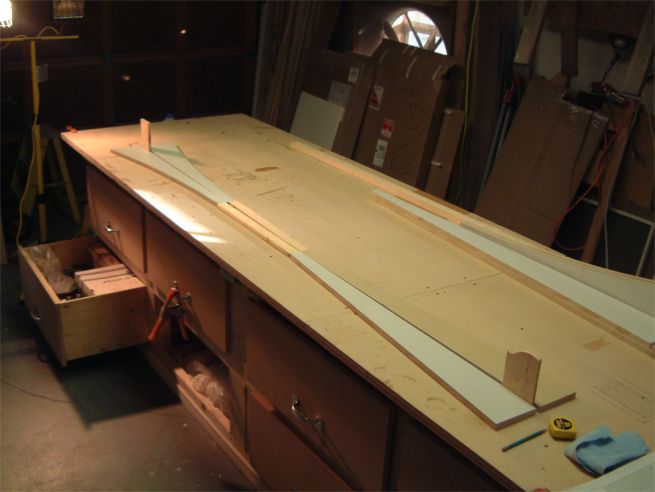 |
Longerons are the wooden pieces at the top and bottom of the fuselage.
In making the longerons and the fuselage sides the first step is creating several
wooden jigs that will provide the correct shape and curvature to the fuselage. The plans called for using 1 x 8 pine. I used a product called "MDF" which is a manufactured wood used in trim applications. It is far more dimensionally stable than pine - albeit a lot softer. But it is easy to shape and worked well in this application. Here you see the jigs set on their side ready to glue the longerons together. |
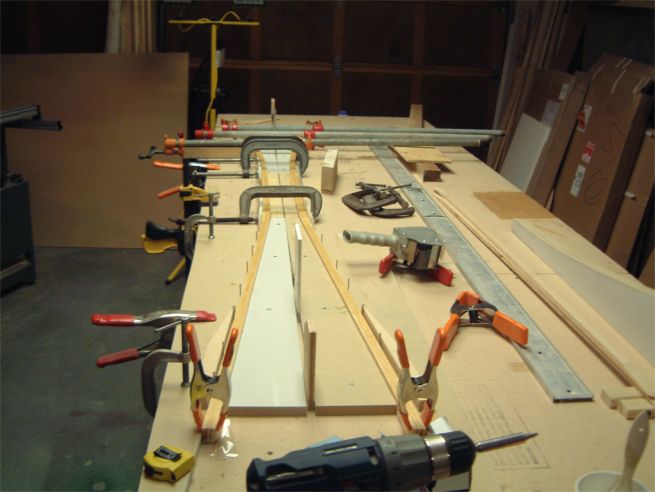 |
Here is the actual gluing process. The plans suggest using nails into the workbench next to the longerons to hold them in the jigs. I found that that worked OK on the straight sections but didn't cut it on the curves or where more force was needed to conform the wood to the jig. Thus - one can never have too many clamps!! |
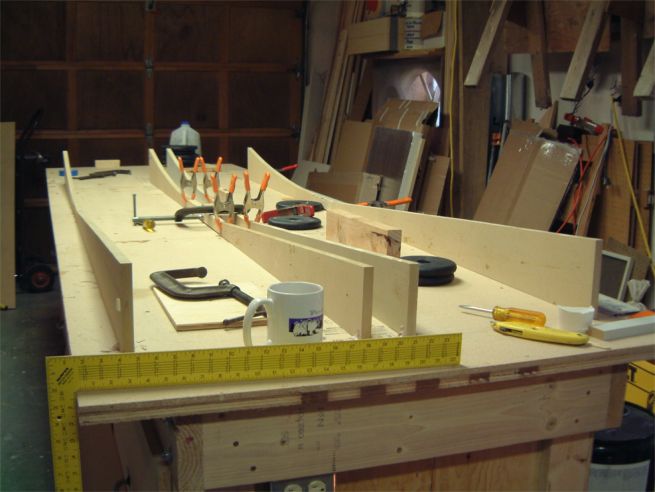 |
The Longerons are glued and awaiting their eventual resting place. Now we have turned those jigs upright and are preparing to start the major portion of the fuselage sides (those big flat panels). Care must be taken to get the jigs precisely located and arranged in order to get the curves in all the right places. |
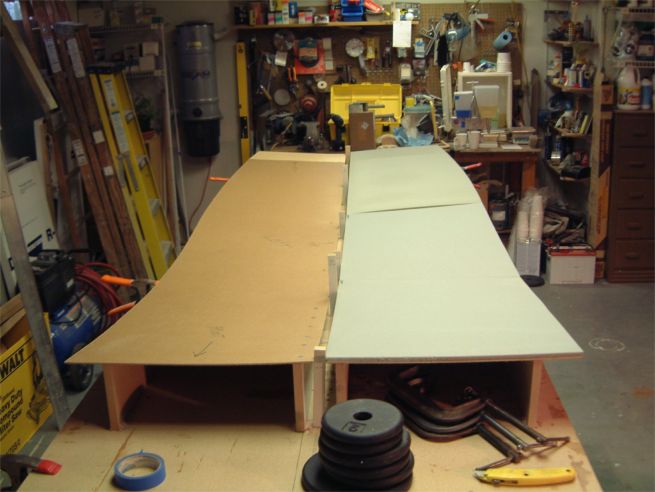 |
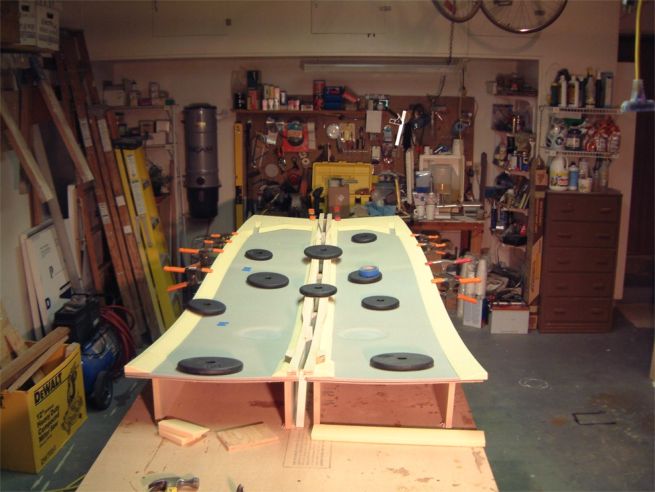
Here we have put the masonite on top of the jigs and have laid the foam into the right half. In order to get the masonite to conform to the jig I put long screws into the middle section where the curve is the greatest. The rest of the masonite was attached with a finish nailer and 3/4" brads. |
 |
Here we have "attached" the foam to the masonite and cut and glued
the "spacers" (yellow contouring foam on edges). The plans call for using dabs of "5-minute"
epoxy to hold the blue foam to the masonite. However, I heard too many complaints about
the large divots in the blue foam when you remove the sides from the jigs. Somewhere in the
archives I read about someone who used double-sided tape. So, I got some double sided foam
tape and tried it out on a scrap piece of foam. It worked great and that is what I used. "Next time" I might just use regular double sided tape. The foam tape adds about a 1/16" height to the foam which I was afraid would change the curvature and straight line measurements. It did - but only when I forgot to factor in the extra height! But since the sides are trimmed a quarter of an inch at the end - I was able to "fix" my little oversights. |
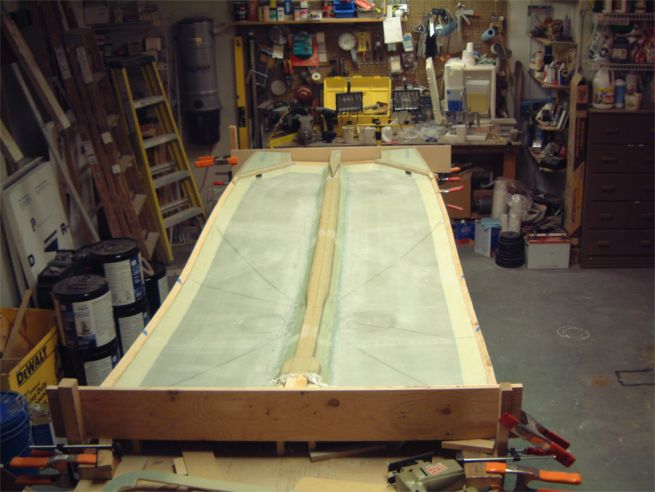 |
The finished sides still in the jigs. Note the marker lines at a 30 degree angle so I could get the fiberglass to lay at exactly 30 degrees (at least for most of the way!). |
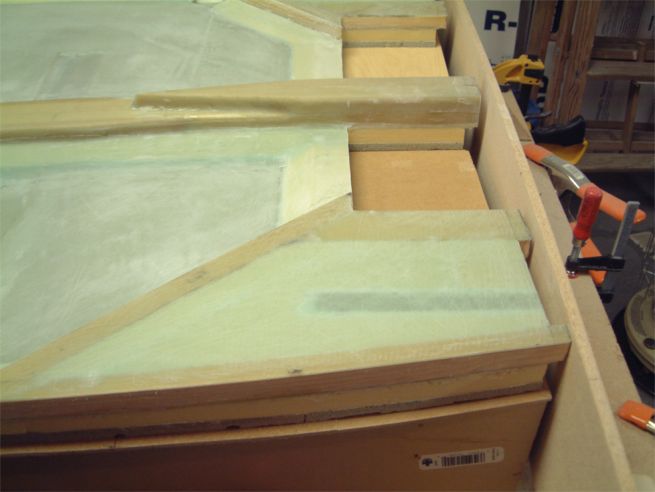 |
This is the finished aft end of the fuselage sides. Note the cut out area at the top of each fuselage for the center spar. |
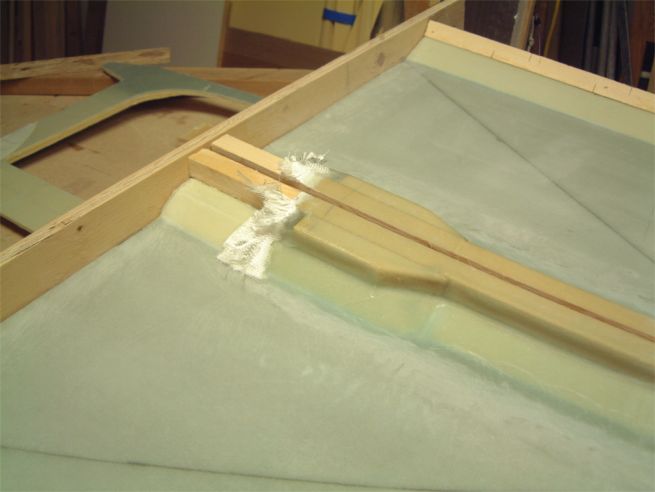 |
This is the front of the fuselage sides. Fortunately I read in the archives that the front portion gets cut out later. So I read ahead to the "Canard Attachment" chapter to see what got cut out. It turns out that the front 6 inches at the top of each side gets cut out to attach the canard. So I saved myself a lot of grief trying to get fiberglass to make lots of bends. Just make sure that you glass well into the area that gets cut out! |
|
While I was working on Chapter 5 there were all sorts of tips and techniques I was going to record in these memoirs. Unfortunately I didn't have the discipline to stop and write those things down! I made a couple of bone head mistakes in this chapter. The first was in floxing the Longerons to the sides while the side layup was still wet. Everything seemed to go alright. The Longerons looked like they had a nice snug fit and flox seemed to be oozing out nicely. So I weighted them down and clamped them to the 5/8 inch spacers. However, when I took the sides out of the jigs and was able to see the top of the Longerons there was a gap between the side and the Longeron about 1/16 wide and about 3/8 inches deep at a couple of spots on each longeron. Distressing as it was I remedied it by cleaning out the crack and roughing up the sides with a Dremel thin abrasive blade. Then meticulously pushed flox in with flat toothpicks until it oozed out further down the crack. The second mistake was from just plain not paying attention to the plans. I mounted the stringers LWX and LWY (wooden pieces around the landing gear and below the center spar) while I was waiting for something else to cure. I thought since I have a little more time I would go ahead and get that area ready for it's additional build-up of fiberglass. So I micro'ed in the electrical channel and surrounding foam. Later I sanded it flat and readied it for glassing. That night (about 3AM) it hit me that I hadn't put a 1 inch BID tape on the inside edge of those stringers - under the foam I already micro'ed in!! I worked that one over in my mind for an hour or so and decided that structurally it probably didn't make a bit of difference. However, just to help me in the future I reamed out that foam the next day and spent 4 hours fixing that and putting in the 1 inch BID tape. I don't want to cut corners and I better be disciplined about reading, re-reading, re-re-reading the plans and making checklists. This time it was inconsequential - but the next time ... Now on to Chapter 6 fuselage assembly!! |
|