Cozy Home | Project Status |
Chapter - 4 5 6 7 8 9 10 11 12 13 14 15 16 17 18 19 20 21 22 23 24 25 26
| CHAPTER 14 - CENTER SPAR | |
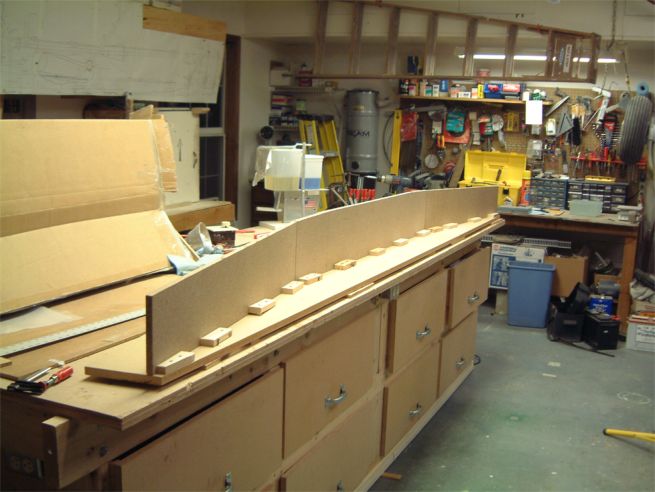 |
Here I'm building the jig for the Center Spar. I used 3/4" particle board and 1x2 blocks for support. |
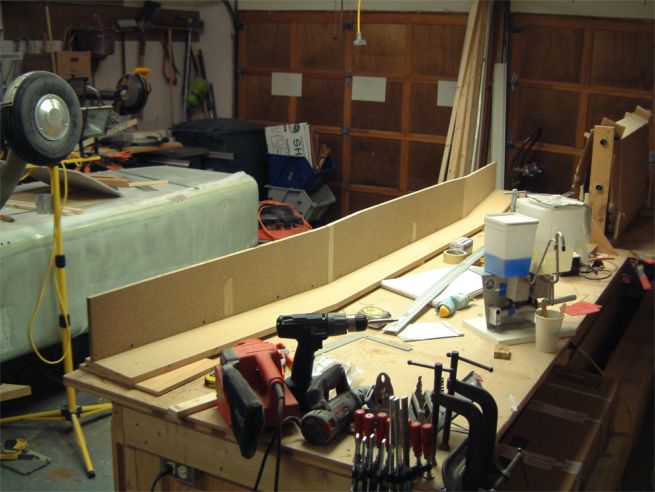 |
The jig is on its back waiting for something! |
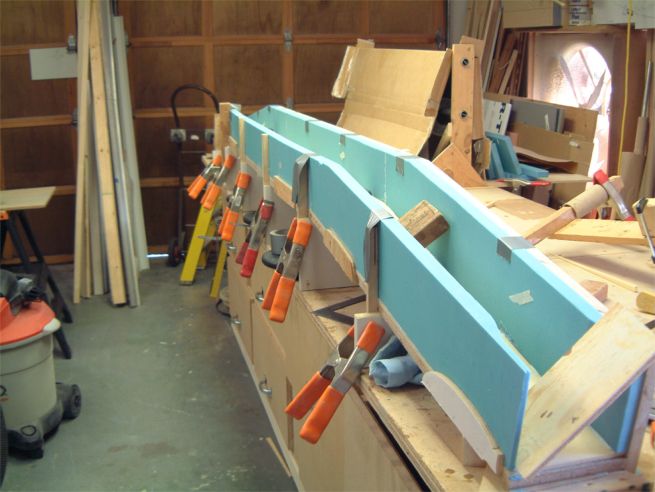 |
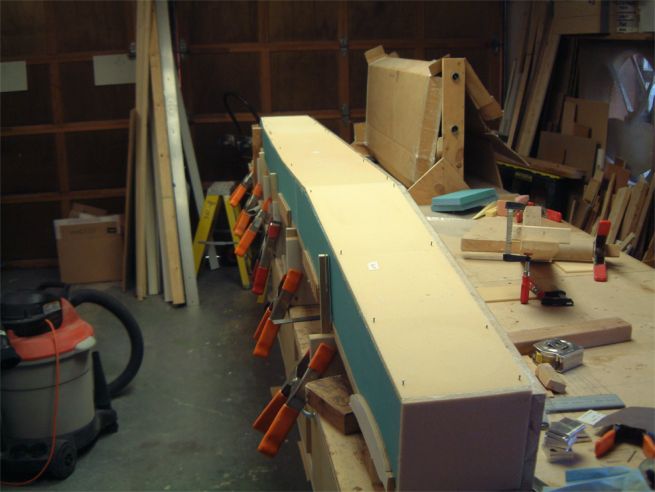
Here the foam is laid into the jig and it is being micro'ed together. The "sticks" clamped upright are to keep the foam at 90 degees to the bottom of the spar. |
 |
Sometimes you just need a little nudge to push the foam snug. I often over-do it and clamp things into a deformed state. I'm learning to use just enough pressure where needed. |
 |
The spar box is closed. No it's time for some serious fiberglassing! |
 |
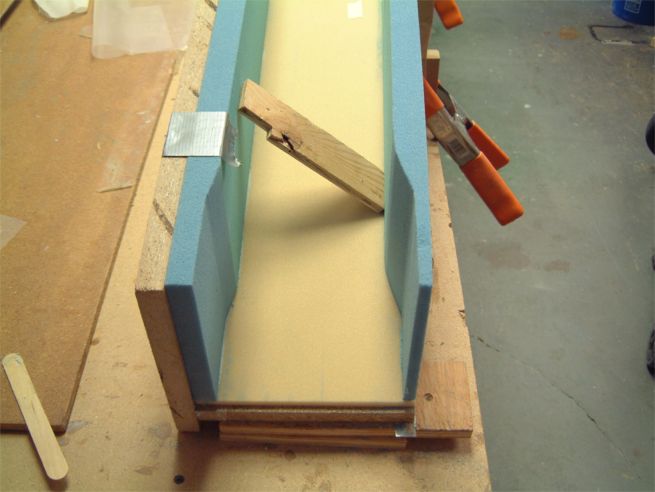
A trough is sanded into the 1" top and bottom foam for the spar caps (a 1/4" thick layup of heavy 3" wide, uni-directional fiberglass). The picture at the left shows "Depth gauges" so the trough is just the right depth for the number of layers of fiberglass are various spots. |
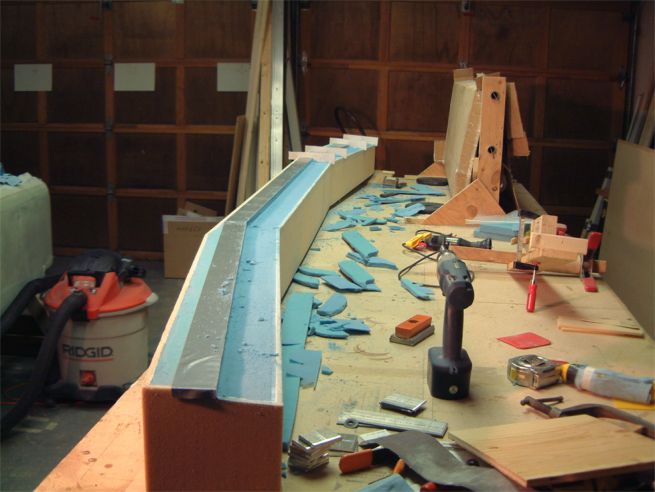 |
The trough looks good - time to throw some epoxy and fiberglass in. The dark strip to the left of the trough is duct-tape. It keeps errant drips of epoxy off the foam. |
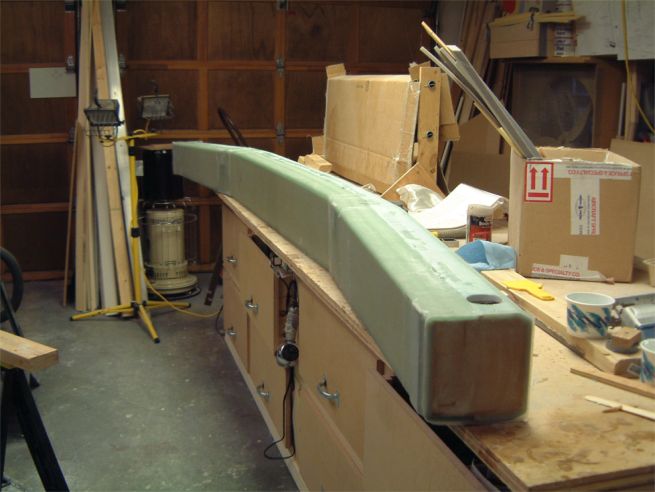 |
Well I didn't take pic's of the individual layups. But there are at least 4 that I can remember - a shear web that is layed up over the front of the spar and into the bottom of the troughs; top spar cap; bottom spar cap; and the the rear. At the end you throw a couple of layers on each end to wrap it up. |
| Top
- Now on to Chapter 19 -
Wings! |
|