Cozy Home | Project Status |
Chapter - 4 5 6 7 8 9 10 11 12 13 14 15 16 17 18 19 20 21 22 23 24 25 26
| CHAPTER 4 - FUSELAGE BULKHEADS | |
 |
The first step for me was to trace the drawings included with the plans so that I don't ruin the original plans. It's always good to have a pristine original to refer back to! (Although tracing does introduce errors that the originals would not have!) |
 |
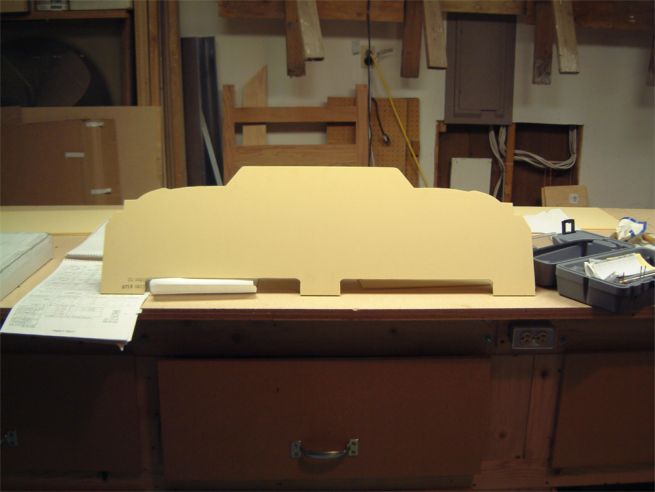
No picture of the seatback in progress. It's basically just a square of foam that has a couple of holes and is glassed on both sides. At the time it didn't really seem exciting enough to take a picture of! |
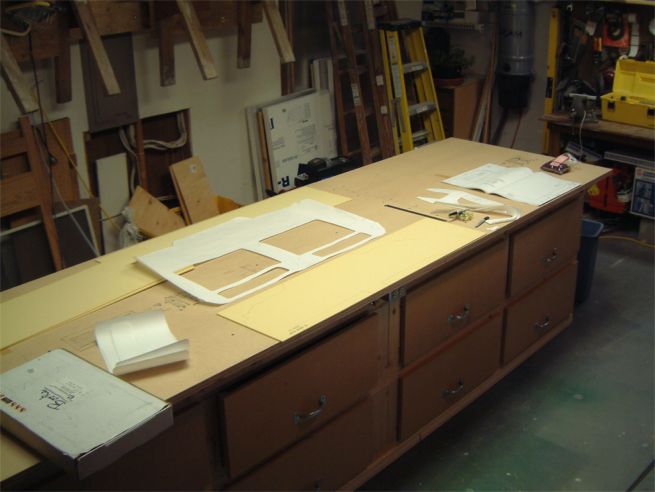 |
Traced copy of plans ready to transfer to foam and cut. |
 |
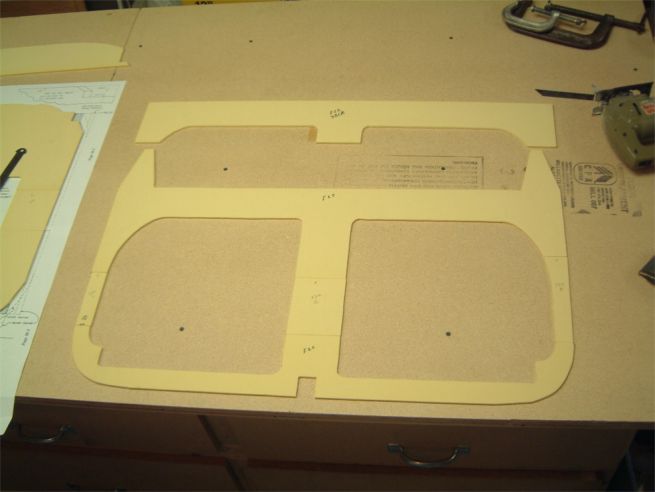
Top piece of the instrument panel. Because of foam sizes the IP is made from five pieces - top, bottom, and three center "posts". |
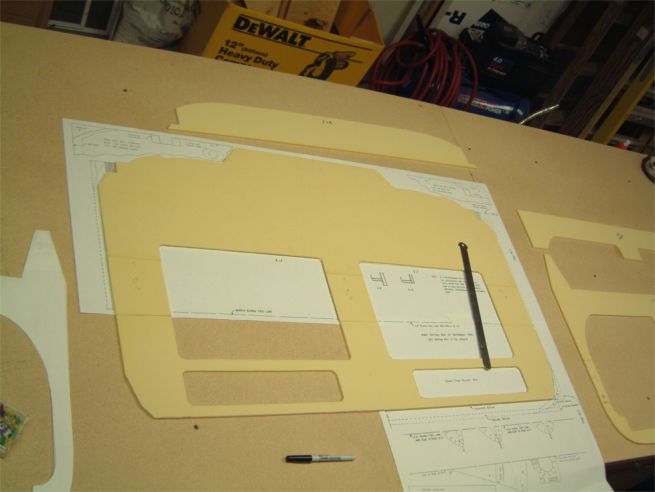 |
After cutting and gluing the foam is checked against the original plans for and any adjustments are made before laying up any fiberglass. |
 |
The finished product. If I had it to do over again...I might just glass a large square of foam rough cut to size. Then transfer the outline of the finished panel and cut to size with Dremel or Rotozip. I spent a lot of time trimming and retrimming after glassing to get rid of lumps of micro and overhanging glass. |
 |
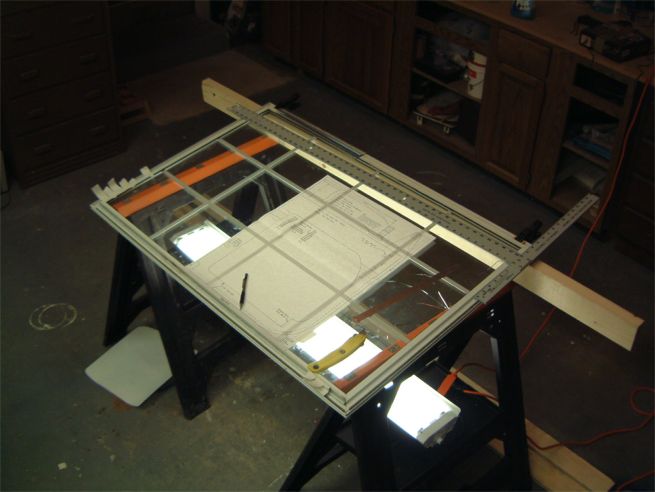
This shows the cable/stiffening channels on the back of the IP. It really wasn't that difficult to glass. I used a 1" x 3/4" piece of wood covered in box sealing tape as the support to hold the shape and ensure a straight lip. |
 |
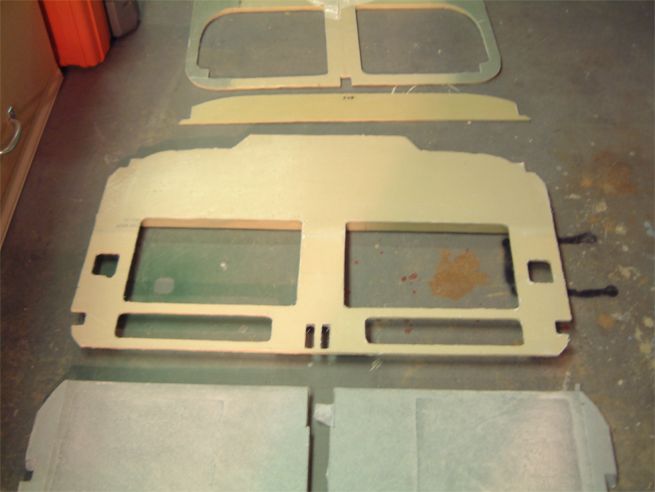
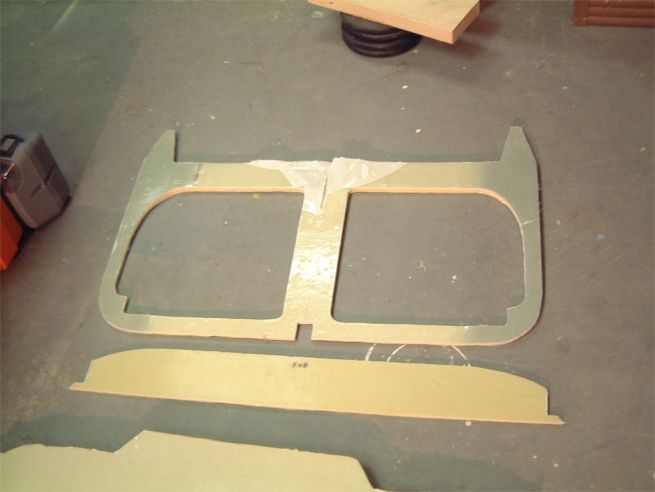
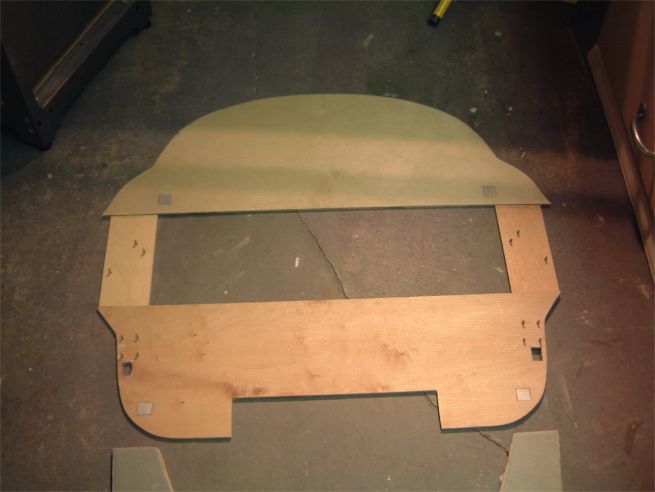
Here is F22 and F28 already cut from foam. For those uninitiated "F" stands for "Fuselage Station" here and these are bulkheads in the front of the airplane that support the canard. Notice that like the Instrument Panel, that F22 is made of 5 different pieces. |
 |
Here is the finished set of F22 and F28. Notice the darker green on the outside of F22. This is extra layup required to support the canard. Also note that I didn't read or at least think about the directions. It said something like "apply these extra layups to the outer 5" of F22. I blindly applied them all the way down - including the bottom. It's not likely that the bottom 2" under the cutout is going to see any stress that these layups will help! Oh well, it was good practice and a character builder! |
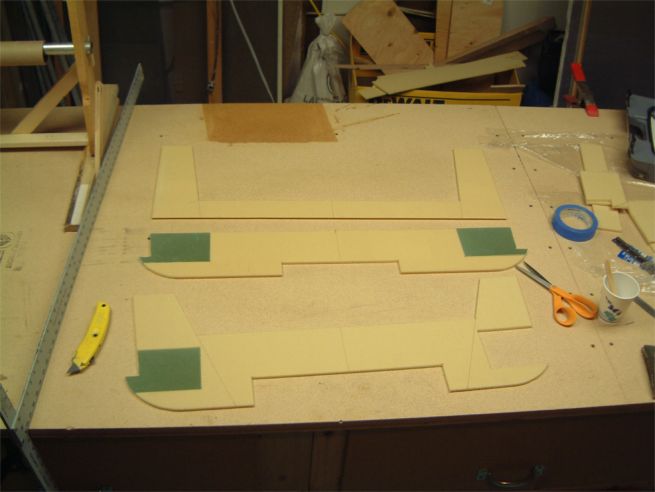 |
These are the landing gear (LG) bulkheads cutout and ready to layup. Here the "Hardpoints" for the landing gear attachment are clearly seen sitting in their respective slots. These "hardpoints" are made from 24 layers of fiberglass (or whatever it takes to make 1/4"). |
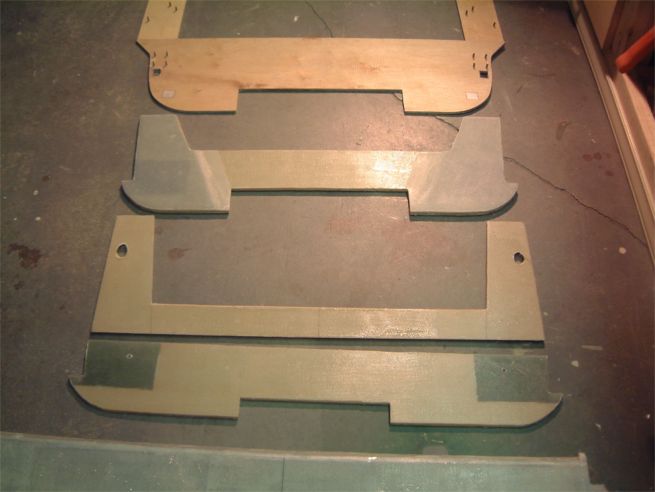 |
Here are the finished Landing Gear bulkheads (the bottom 3 pieces). |
 |
This is the finished firewall. Note that it is 4 separate pieces that aren't glued together before glassing. The FW has embedded screws or "blind" screws set into it. There was some discussion in the archives and emails about having those screws break free and turn if too much pressure was applied. I took the extra step of not only slotting the screws (so the slot fills with resin and prevents turning), but also embedding steel wire in the slot and then wrapped around the screw and then embedded in a slot in the firewall. Hopefully this will take care of any potential problem. |
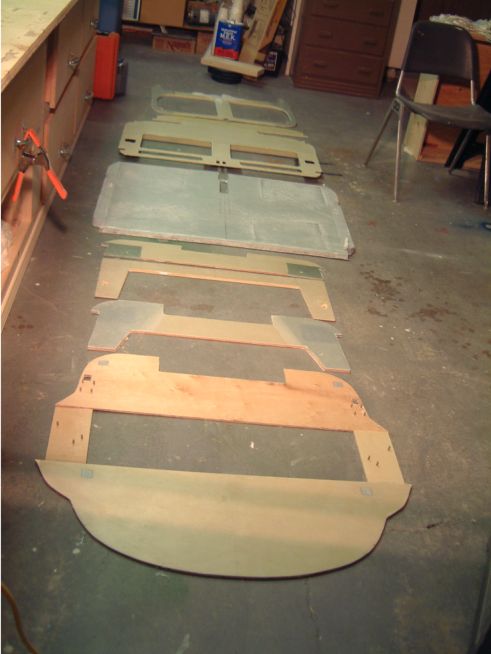 |
Here is the completed set of Chapter 4 bulkheads. They are arranged in the sequence that they are in the airplane - FW, LG Rear, LG Fwd, Seat, IP, F28, F22. |
|
When I first saw chapter 4 I thought "no problem, I'll whip this out in a weekend". There's nothing like experience to humble a person. Despite the meager appearances of a bunch of flat panels - there is a lot of work in getting everything cut and measured exactly. And, if this is one's first experience in laying up fiberglass (except for the practice exercise), it is quite a challenge and time consuming. However, I'm not in any kind of race. Only a fool would be in a rush to build a complex aircraft on which his and other's lives will depend. I've found the building process to be quite enjoyable. In a long endeavor like this it is important to enjoy the building as much as is to enjoy flying. Now on to Chapter 5!! |
|
| Top | |