Cozy Home | Project Status |
Chapter - 4 5 6 7 8 9 10 11 12 13 14 15 16 17 18 19 20 21 22 23 24 25 26
| CHAPTER 9 - LANDING GEAR | |
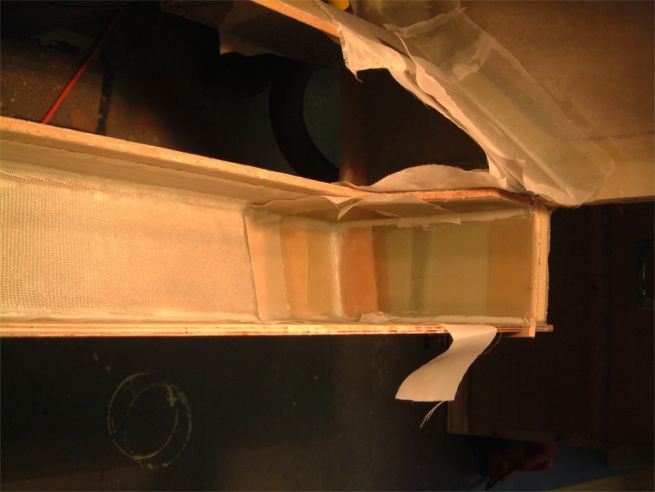 |
Reinforcing layups (lots of them) for the landing gear bulkheads. Both the front and back bulkheads get reinforcements on both their respective front and backs! It's best to make patterns out of 4mil plastic first. Then the layups are done on the bench and layed into position - complete with darts as required to make it around the the 3 sided corners. |
 |
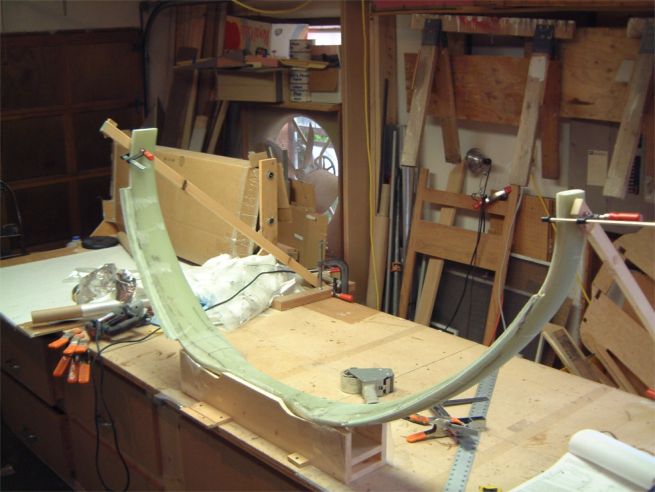
Torsional layups on the landing gear all done and peel-ply'd. I used 2x4 blocks of wood with 16# nails as the support. This put the gear up an additional 1.5" which helped. If I had been really thinking I would have bondo'ed the blocks to the bench too. |
 |
Another angle on torsional layup |
 |
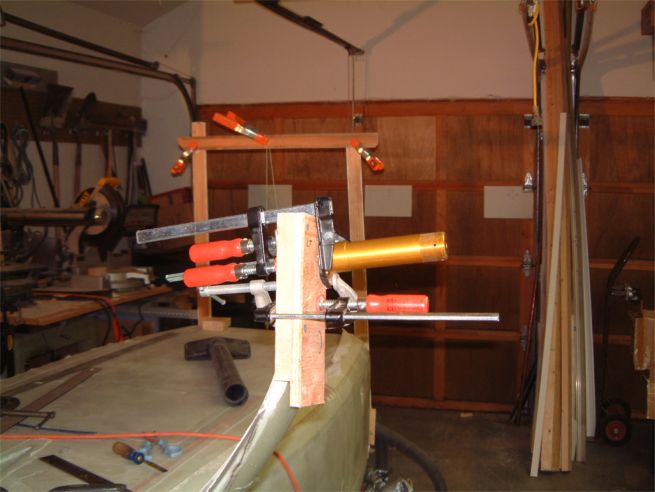
Getting the "tab box" lined up and ready for tab layups. The gear is perfectly level and the leading edges are both at their respective FS position. I've braced, clamped and screwed everything into place so there will be no movement. |
 |
Anothr angle on bracing and prep for tab layups. |
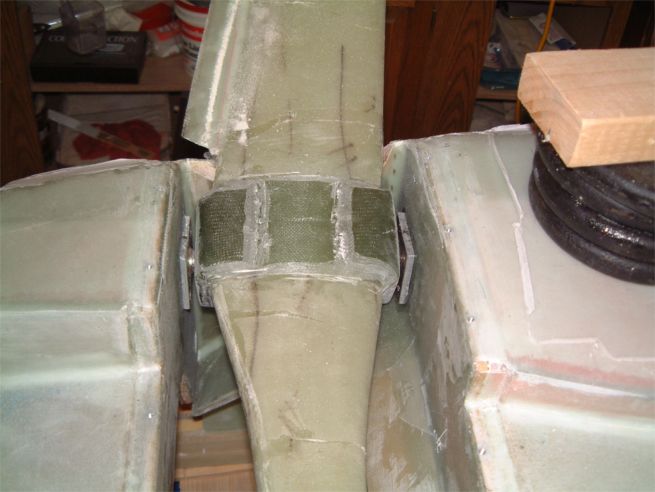 |
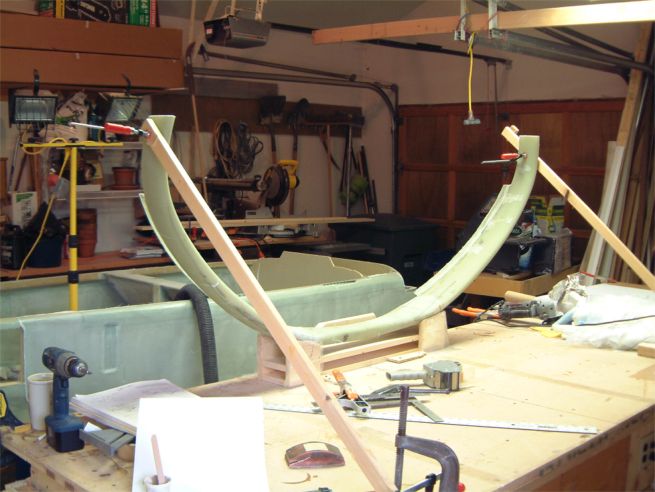
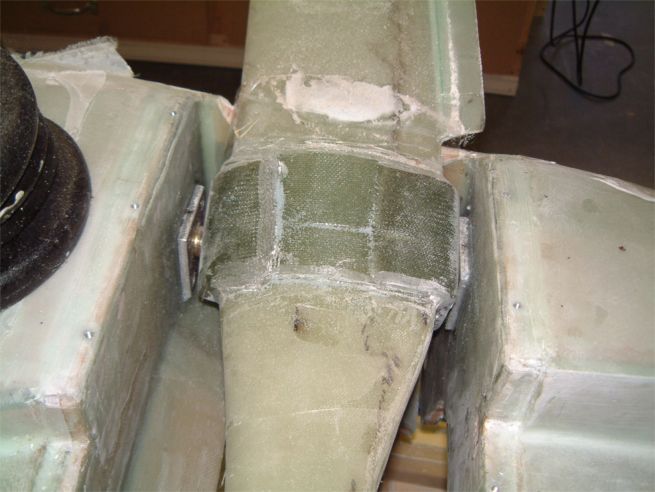
Tabs complete and drilled - with a little "persuasion" (read hammer and block of wood applied to bolts) the landing gear fits "perfectly". I put washers fore and aft to fill the space and make sure the leading edge on both sides was withing +- .07 of the correct fuselage station (FS). |
 |
Aren't they beautiful (I guess it's a shot only I can appreciate!) |
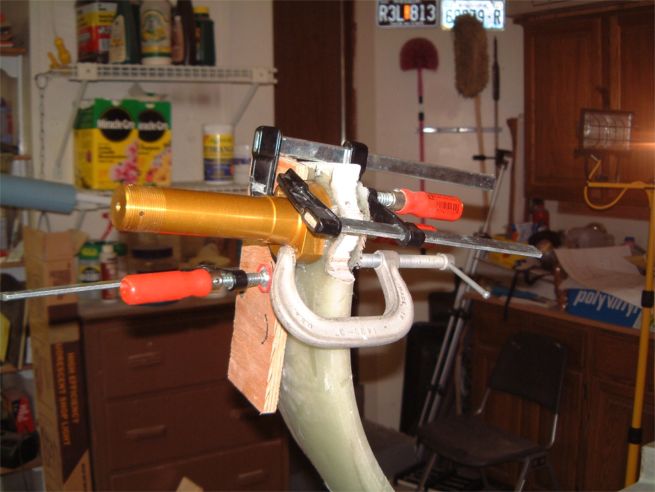 |
Axels are being floxed in place and clamped so there is no movement. |
 |
Note the paper on the garage door - these were the targets of my laser level when getting the toe-in incidence correct. I've got a frame clamped to F22 and a plumb line there so when I shoot from the rear center I can project center onto the garage door. |
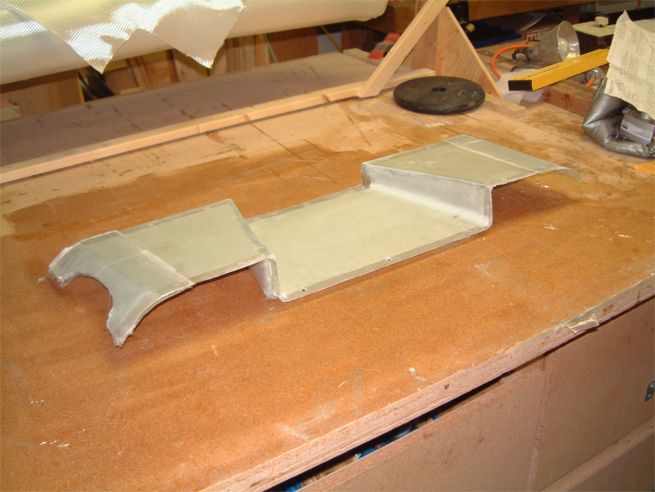 |
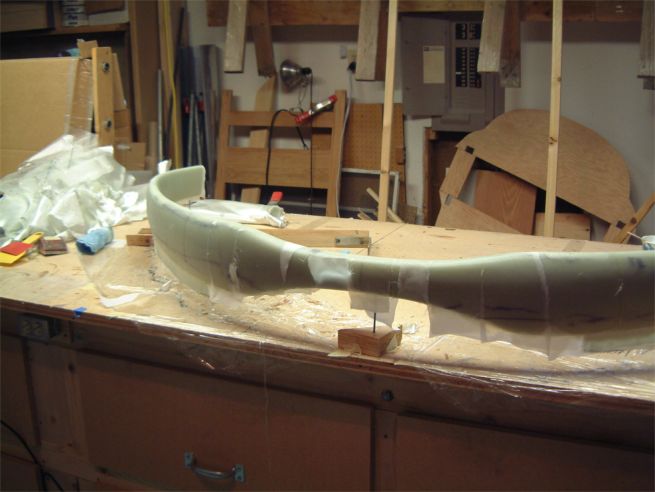
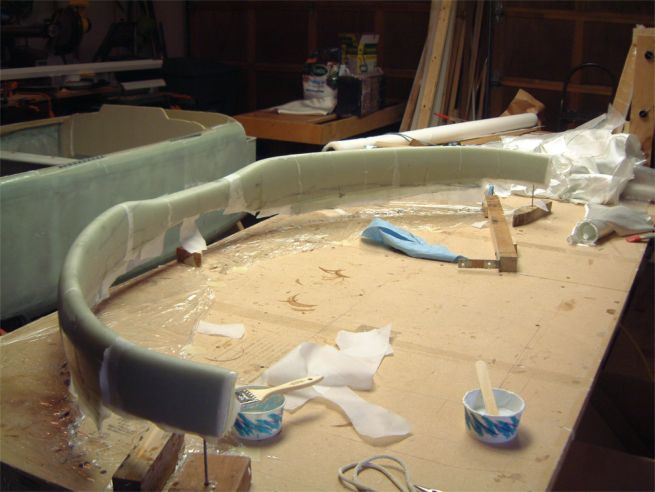
This is the completed landing gear cover. I guess it's what the plans call for. I know, however, that there will be a fair amount of micro that will get applied to the flat surfaces to curve down to the rear LG bulkhead from the front landing gear bulkhead. |
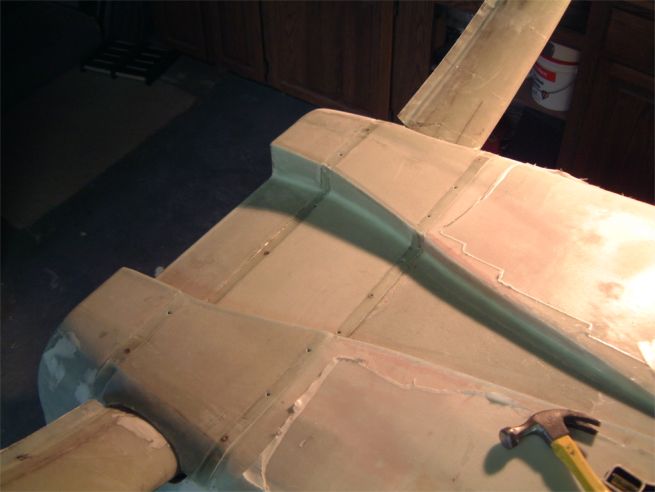 |
Here is the bottom of the fuselage with landing gear in and the landing gear cover in place. Note the fuselage is upside-down still. |
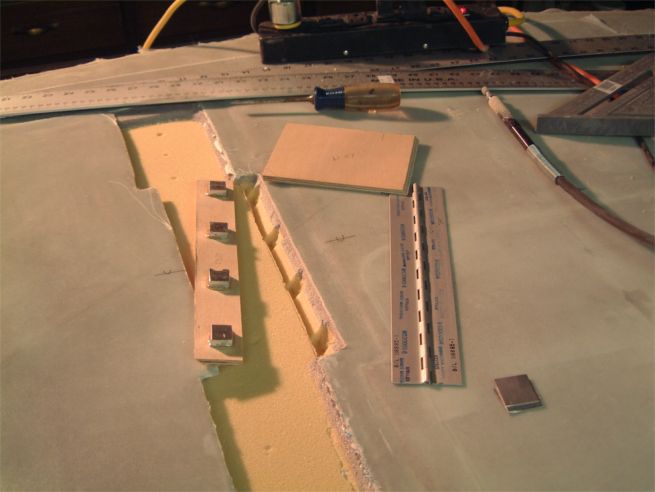 |
The landing brake comes next in Chap 9. The first step involves trying to extricate the brake panel from the fuselage - since it was glassed over in prior chapter (8?). Then the slot for the hinge and the plywood "hard-point" are fabricated. |
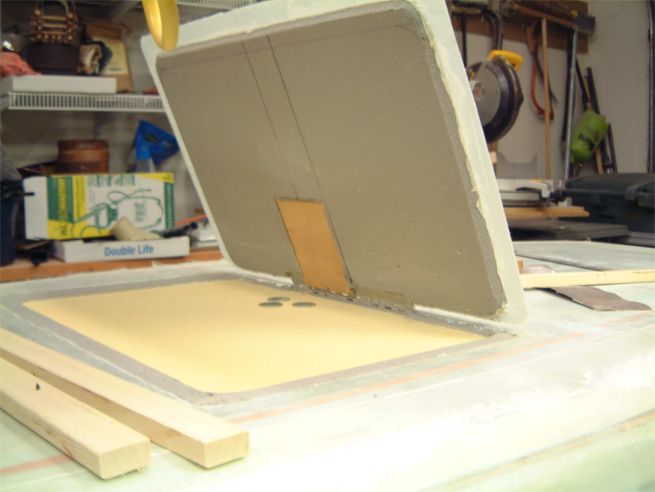 |
Test fit of plywood arm and hinge. Note washers on foam below the plywood. These are approximately the same thickness as the fiberglass that will now follow. |
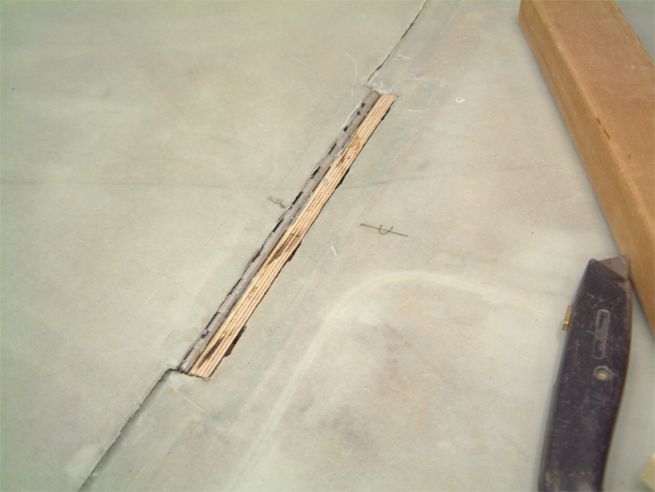 |
Here is a view of the speed brake hinge area prior to glassing the inside of the brake recess and over the plywood. |
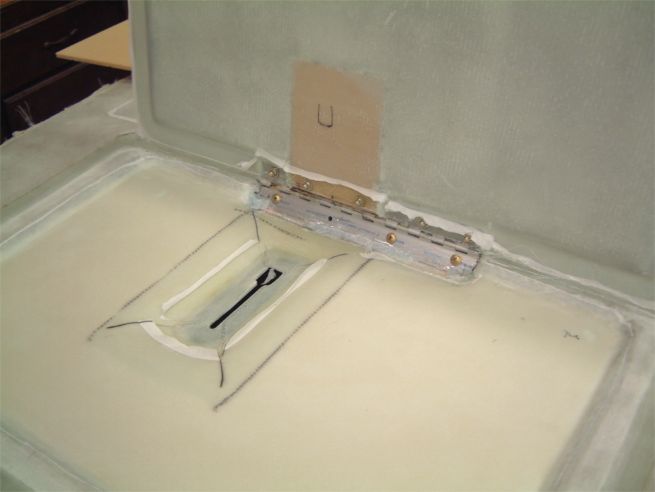 |
Inside all glassed and a finished brake with slot - in the wrong spot for the electic actuator!!! If you are going to use the electric actuator - wait until you have it and position it on the inside before cutting your floor. |
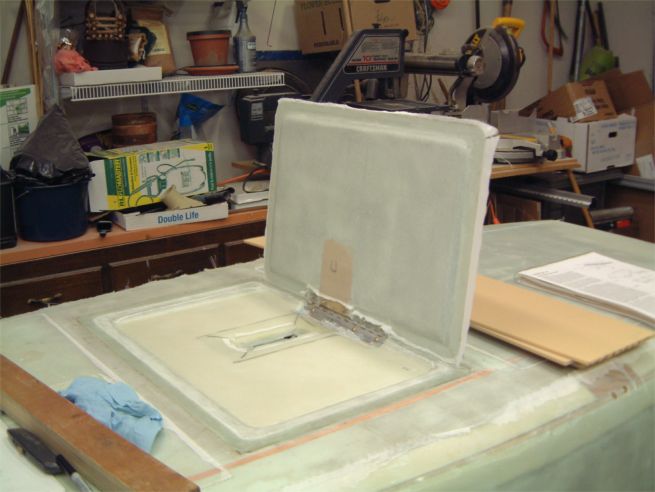 |
The big picture. |
 |
Hinge area now glassed over and hinge screwed on to brake panel. |
|
Top
- Now on to Chapter 12 - Install
Canard |
|