Chapter 25: Contouring the Fuselage Bottom
Contouring the Fuselage Bottom
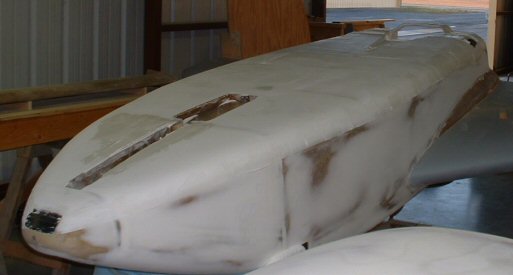
I flipped the plane over so I could micro the bottom. Before mixing the micro, I decided at the last minute to install one more nav antenna. I also had some deferred work to finish up, like sizing the nose puck, installing the mechanical stops for the gear doors, and building the external nose strut cover. I had to do a fair amount of pre-fill on the bottom of the nose just forward of the F-22 bulkhead. I screwed up years ago in Chapter 13 and didn't get the floor pans exactly flush with the fuselage bottom. I removed the main gear cover, landing brake, and nose gear doors so I could pre-fill them separately. Again, I tape the edges of all components that have seams and joggles prior to big filling. I re-installed the main gear cover and landing brake prior to big filling.
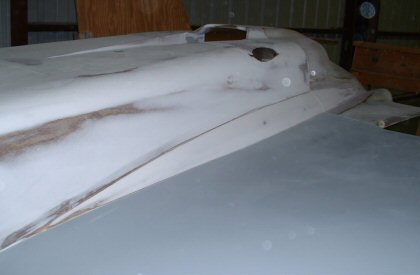
The bottom of the fuselage was easy to big fill, due to the large flat surfaces. However, the NACA scoop was a pain in the patooty to fill. The problem is at the radiuses. Try smoothing the radiuses and I'd dork up the flat areas. I ended up just piling on the micro and overfilling the radiuses.
I was expecting the contouring to go fairly quick, but it was "yes" and "no" because I ended up with low spots in a bunch of areas. Mostly due to my trowel digging in while spreading the micro. I'm now convinced that flat surfaces are harder to fill than curved surfaces. I am continually surprised at how much overfill is required to get a flat surface flat. So I filled the low spots, waited for cure, and recontoured.
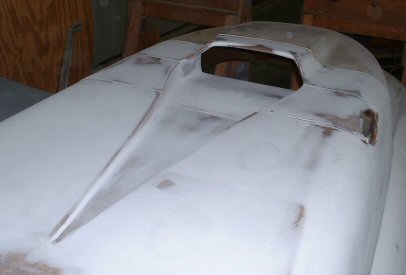
I contoured the NACA scoop separately. It provided its own unique challenges. I made a sanding tool for sanding the radiuses and it helped speed things up. Most of my durablocks were too big for this job. So I made up some small sanding blocks. I even sanded alot of it by hand, especially the lower cowling lip. It was tedious and I'm glad that part's over.
Anyway, the bottom is contoured. What a beautiful sight! I did all this on New Year's Day '06. What a way to start off the new year.
Nose Strut Cover and Gear Doors
Once I had the nose perfectly contoured with the bottom, I fabricated the nose strut cover, micro'd it, and blended it in with the surrounding micro using this feathering technique. I used this same feathering technique to contour the nose gear doors. (Pictures forthcoming.)

Lower Strake Fairings
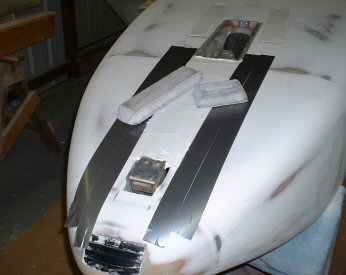
For me, the hardest part of contouring these fairings is shaping in and maintaining the lines formed by the intersection of the fairings with the fuselage sides, strake bottoms, and cowl. (Remember that my lower fairings extend onto the lower cowls.) These lines are a cosmetically critical item. They must be continuous without bumps, dips, or weaves. What I do is first define these lines using black electrical tape. I big fill the fairing, then pull up the tape. Doing this leaves a nice, sharp edge on the micro. After the micro cures, I apply duct tape to re-establish the reference and to stop me from scuffing up the fuselages sides and strake bottom while contouring the fairings.
The fairings put up quite the fight! While I was able to get good intersection lines, I found it hard to get a consistent "roundness" along the lengths of the fairings. (Very similar to what happens with the upper strake fairings.) I resorted to overfilling them and contouring second time.