Chapter 18: Installing the Canopy Glass
Step 10: Setting the Canopy Tape Line
Per the plans, you use the carving templates to locate the canopy tape
line. You later shape the foam
blocks to match this tape line. When
referenced to the top longerons (WL-23), the height of the tape line is not
consistent. Its highest point is at
the intersection of the forward tip of the canopy bubble and the forward canopy
deck. Then it sort of
“swooshes” slightly downward along the canopy as it moves aft and outward.
(Total swoosh is less than 3/8th inch.)
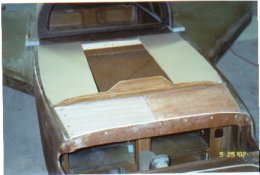
To make the deck carving easier, I decided to do away with the “swoosh” and go with a straight tape line set equal to the height of the canopy/deck intersection point. My intersection point is 2.25 inches above the top longerons (WL-23). Your mileage may vary. By doing this, I can simply shape the forward deck and canopy frame blocks to be 2.25 inches high.
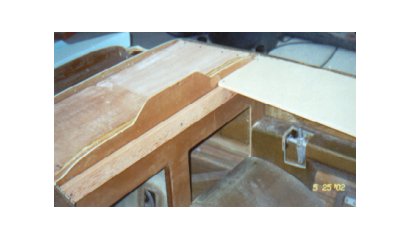
I trimmed the lower edge of the canopy glass to 3/4 inches below the tape line. I also rounded the inside edge, which you must do to get the inside layups to stay attached. This will pay dividends later as you won’t have to futz with getting the canopy edge cosmetically straight prior to glassing the inside of the canopy deck.
To prepare for Step 11, I installed the shelves into the fuselage to hold the foam blocks for the foredeck and canopy frame. I installed pine strips across the instrument panel and shoulder support to hold the shelves in place. Similarly, I installed a shelf between F28 and the instrument panel.