Chapter 19: Top and Bottom Skins
Lessons Learned
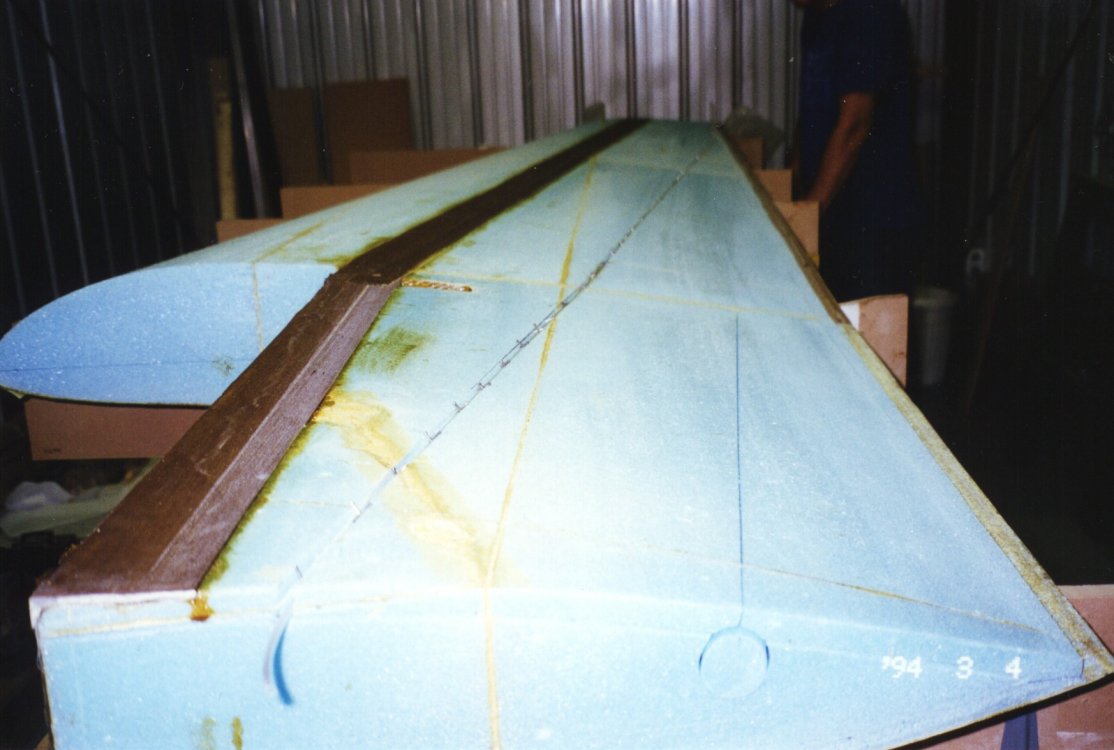
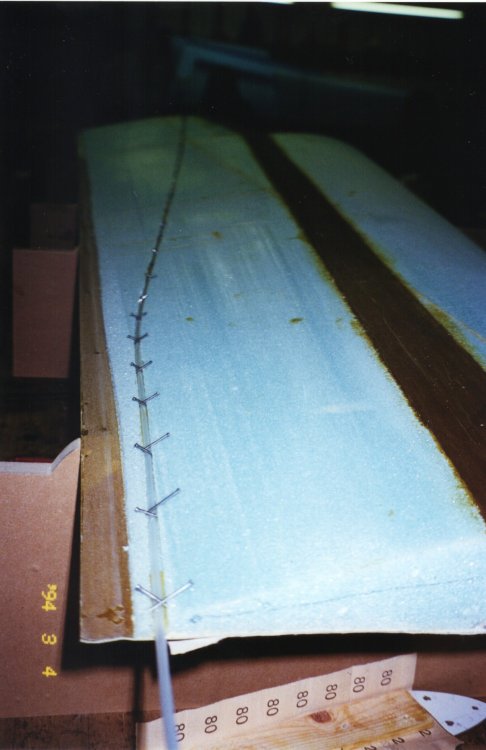
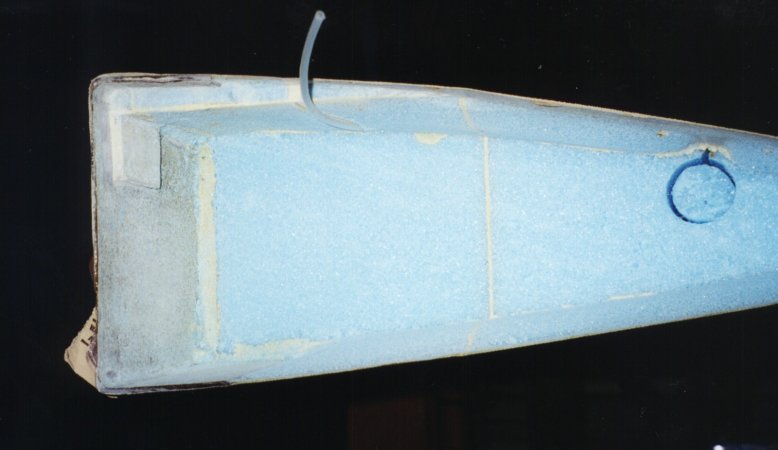
1. I will install the hidden rudder bellhorns, so following the plans from RAF this is how I ran the nylaflow conduit for the rudder cables. Be careful to route the conduit at least an inch forward of the outboard corner of the aileron. Any closer than that and you will dig past the wing foam and into the aileron cut-outs.
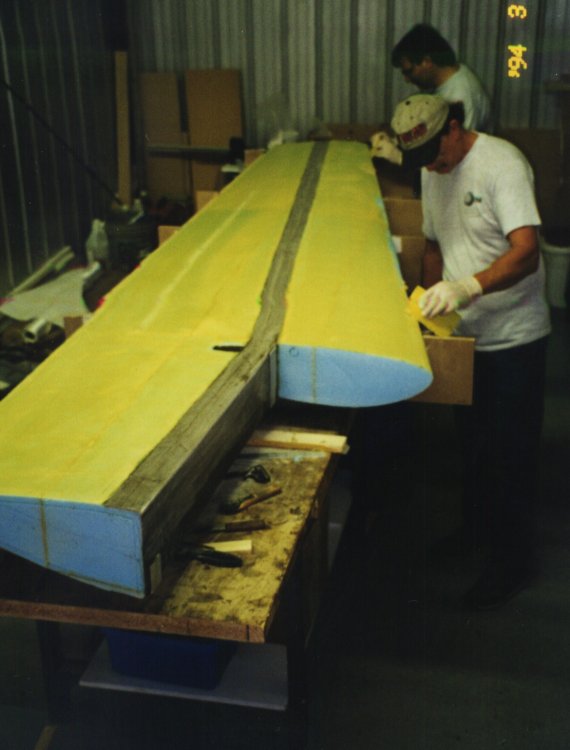
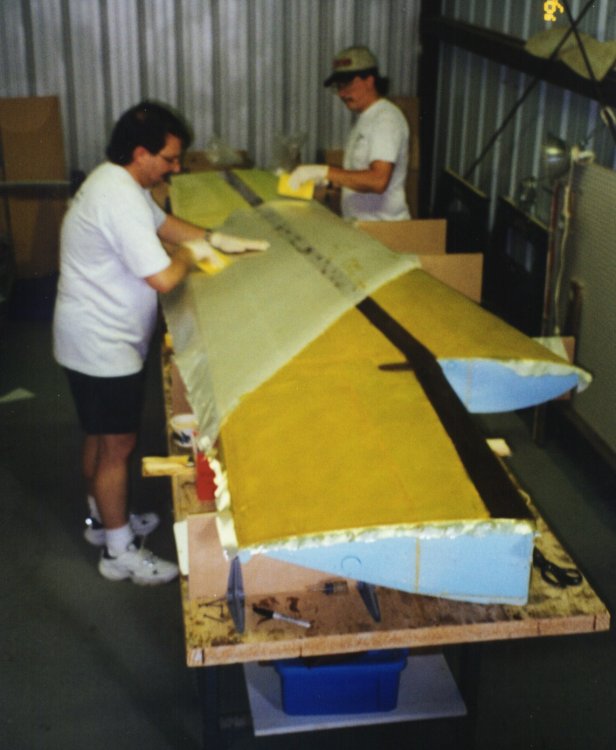
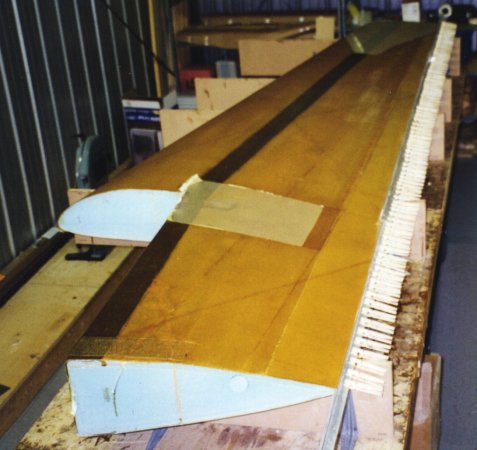
2. I typically like to cut the cloth to size before doing large layups. But in the case of skinning the wings, I found it much easier to simply roll the cloth onto the wing (being careful, of course, not to leave the roll sitting for too long in one spot so as to avoid soaking up slurry into the roll). The cloth rolls out with the fibers fairly straight, so there's less distortion to deal with. I laid out the middle pieces first, then laid out the root and tip pieces. For some reason, my cloth on the root pieces did not give the coverage shown in the plans. I had to add a fourth piece at the very corner of the root near the inboard wing attach point.
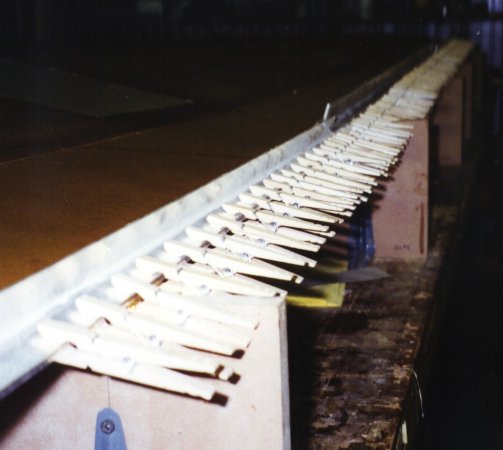
3. I used straight edges and clothes pins to keep the trailing edges straight during cure. I don't have any spring clamps and the prospect of spending a hundred bucks or so at Home Depot did not thrill me. So I splurged at WalMart on a $3pack of 100 clothes pins. Don't laugh...they really did the trick!
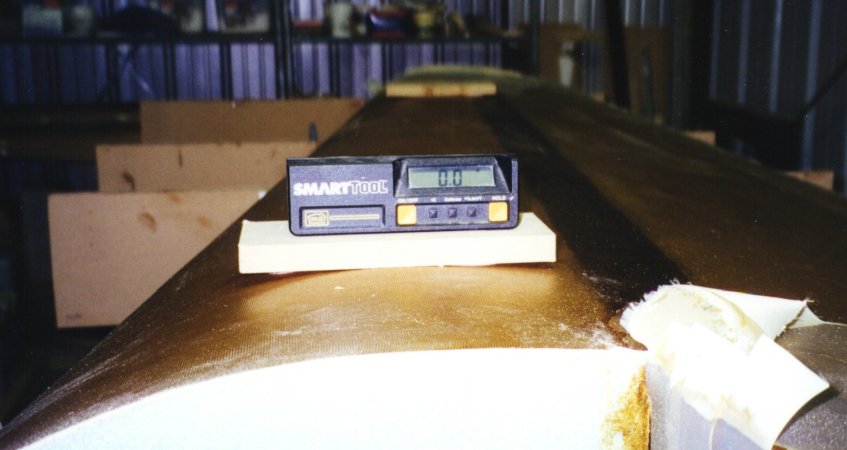
4. Just for yucks I bondoed two level reference boards to the wings.
5. I used the hotwire templates to create patterns for the BL67.5 and BL31 wing ribs. I wet out the 3-BID onto wax paper, cut it to size, then stippled the 3-BID into the wing root cavities. This worked well for the BL67.5 rib. I used nails to hold the layup in place and to keep it from sliding off. This pattern technique DID NOT work well for the BL31 rib. Too much material and too many sharp corners at the shear web. I had to cut darts into the cloth and make folds. I might have had better luck simply glassing the cloth in place and working it into the corners like I did on the reinforcement layups for the landing gear bulkheads in Chapter 9.

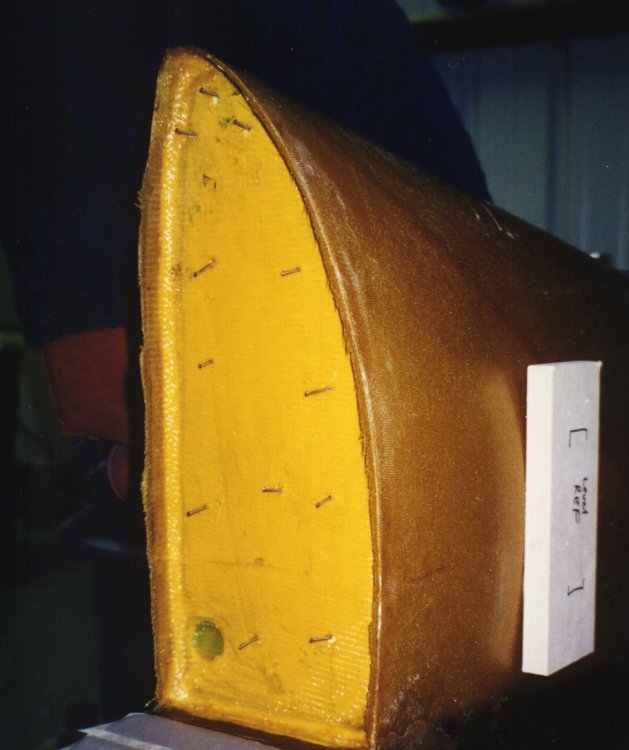
6. This is my interpretation of the "surgery" required for the BL31 wing rib.
My Second OAF Story:
At the time of this writing, I am living in Virginia but working half the month at the NASA Dryden Flight Research Center in California. It is Fall, the temperatures are getting colder and colder. Winter is right around the corner. So, with much haste I attempted to finish glassing the top and bottom skins on the second wing before being socked in with the cold, winter weather. I hurriedly got the bottom glassed and cured, flipped the wing over, jigged in place, did the spar caps, glassed the top skins on, then said bye-bye to the wing for two weeks...and off the California I went, really happy to get the 2nd wing finished.
Upon my return, happiness turned to heartbreak when upon further examination, I suddenly realized I had forgotten to remove the peel ply from the bottom leading edge. My helper and I did a fabulous job of glassing the 3-UND top skins around the leading edge and overlapping onto the bottom skin. We never saw the peel ply. Ugggg! So at 8AM on a Saturday morning, Nat got a call. After consulting with Nat, I settle on a repair -- make a cut through the top skins tangential to the leading edge just above the peel-ply and bottom skins, remove the overlap and peel ply, then reglass with 2 strips UND cut on a 50-degree bias criss-crossed to one another, overlapping two inches onto the top and bottom skins. Worked great. That's the beauty of composites -- everything is repairable.
That leaves me with several suggestions about peel ply. #1, never leave peel ply in place. Peel it off the very first chance you get lest you forget to peel it off and glass over it. #2, leave a little extra hanging off the glassed surface as a reminder it's there. I normally do this except the end got scissor-trimmed off with the rest of the excess cloth. #3, some people use blue peel ply to better recognize its presence. The white peel ply goes translucent and is sometimes difficult to spot. #4, if you use the white peel ply, a couple of well-marked "X's" on the peel ply will ensure you see it and remove it.