|
|



Chapter 9: Main Gear & Landing Brake |
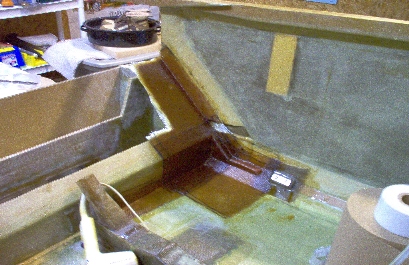
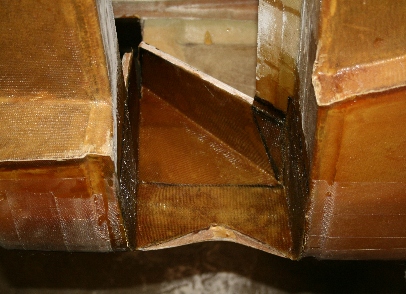
I started this chapter with the landing gear bulkhead reinforcement layups as per plans. The picture to the right is the first of the layups I completed on 5-8-08. The real trick here is to make sure you cut darts in the fiberglass to get it to lay down at the inside corner. Also remember to radius the edges of the lower longeron doubler. That is the only way you'll be able to get the glass to lay down properly. This lay up took about 1 1/2 hours to complete. |
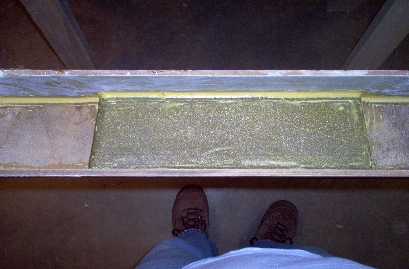
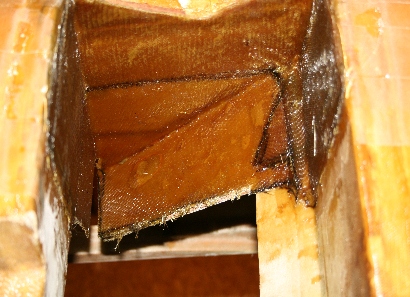
I prepaired the the area between the rear landing gear bulkhead and the firewall by using micro to radius all the inside corners after I micro slurried the bare foam. After an overnight cure, I painted the area to be glassed with pure epoxy, applied two plies bid at 45* and peel plied the edges. HINT: Be sure to wet out your bid on wax paper and then put it in it's place. Rub out the air bubbles and carefully remove the wax paper. |
This is the same area after applying glass and peel ply. Notice all the inside corners with micro radius. This makes it much easier to apply the fiberglass. |
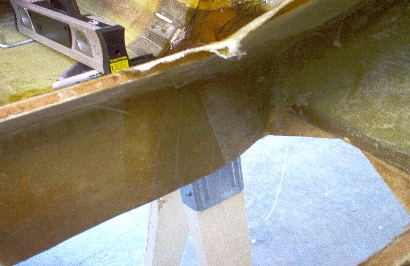
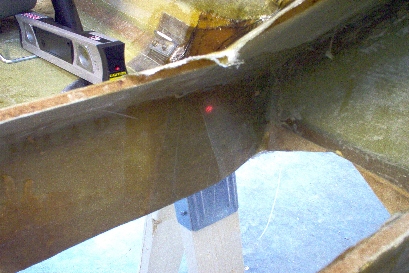
OPPS! I forgot to open up the 1/4" pilot hole in the front landing gear bulkheads prior to doing the forward reinforcement lay ups, and I couldn't see where the holes were. |
Solution! I got my digital level with it's built in laser,(which, by the way, I purchased at Sears for $24. Must have been a close out sale, or something), and check it out...I found the holes. |
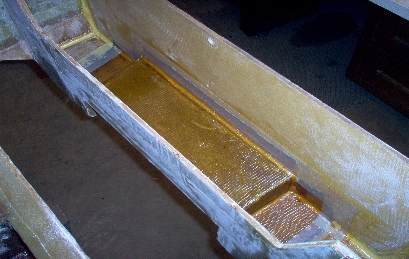
This is the left side of airplane in between the forward and aft landing gear bulkheads. It isn't that difficult to get the Bid glass to lay down properly if, and I mean IF, you cut darts at the corner where the forward bulkhead has it's angle. It's ok to let the dart area have an overlap. |
I must admit here that doing any of the landing gear bulkhead reinforcement layups would be next to impossible without making a paper pattern first. The way I did it was to use plain white packing paper to make my patterns. I started with a large enough piece of paper to amply cover the area to be patterned. It's amazing how easy it is to push the paper into the area to be traced. Once you have a pattern traced out to your liking, (use a black sharpie) lay it out on your table, bench, or wherever your do your glass wet outs. I taped my pattern to the work table and covered it with wax paper. After taping the wax paper down so that it could not move, I wet out the 3 ply bid per plans. When the glass is properly wet out it is easy to see the pattern below it through the wax paper. I used my electric scissors (why would anyone try to cut wet fiberglass without them) to cut the glass to the pattern. After cutting the glass I simply transfered it to the plane. Push the air bubbles out and carefully remove the wax paper. I'm using EZ Poxy on this project, and I find it is much easier to work with if I use a hair dryer to help keep this flowing while placing wet glass on the airplane and stippling. |
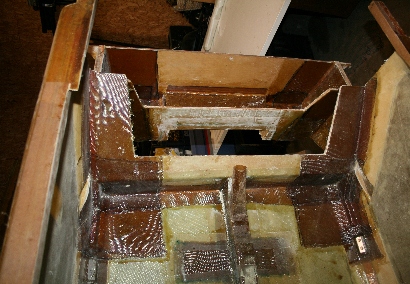
This is a photo of the landing gear bulkhead reinforcements completed per plans. It's strange how flash photography can make things look wierd :) |
This portion of Chapter 9 was completed on May 19, 2008 |