Chapter 19
Just like the plans say….”This is the big one!” This is the chapter in which the wings are constructed. It’s hard to believe that just about half of the airplane (at least from appearance anyway..) will be built in about 200 hours.
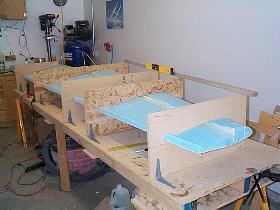
First, some jigs are made that will hold the foam in place for the various layups. These jigs, like so many aspects of this project, are simple yet ingenious in their design. Each jig is made of 5/8" particle board and a template of the wing is laid out on the jig and cut out. The jig is then cut into 4 pieces per plans and held together with small tabs. This is so the jig can be assembled in various pieces so the many layups can be done.
Once the jigs were constructed, I ordered the wing foam cores from Featherlite. Many builders cut their own foam cores, but since this truly is a “one man show”, I didn’t have anyone to hold the other side of the hot wire saw. I also figured that these are critical airfoils, so I had the experts do them.
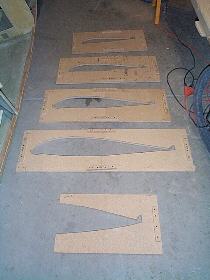
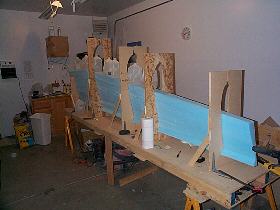 The left picture shows the jigs, the picture on the right shows the initial setup for the shearweb.
 The first step is to cut out the area where the wing attach bolts will go. This was simple because you are working with foam. Ten minutes with the Dremel and those were complete.
Next, the aluminum hard points are installed and the shearweb layup goes over the top of them.
After the shearweb is done, the wing is laid down with the bottom facing up. Now the sparcap, nav2 antenna, and bottom wing skin are done.
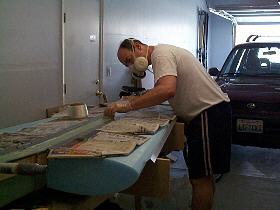
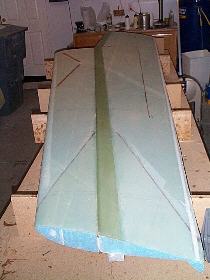 On the left, I am laying up the bottom sparcap. Notice how the jigs have been partially taken apart so the bottom of the wing can be worked on. On the right is the skinned bottom. The dark green line running the length of the wing is the sparcap. This is what gives the wing its strength. It is over a quarter inch thick at the wing root and progressively gets thinner towards the tip because the stresses are not as great at the tip. The "v" in the upper left part of the wing is the second nav antenna. It is buried in the foam under the fiberglass skin. No drag!!!!
The jigs are once again assembled and the wing is flopped over so the top can be worked on. The top is pretty much the same as the bottom with the exception of a thicker sparcap and wing skin since the top is in compression. The rudder conduit is also carved out of the foam and a small plastic tube is embedded. The rudder cable will travel through this conduit.
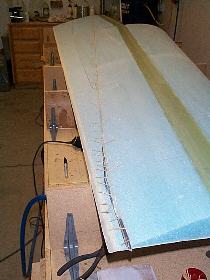 The left picture shows the wing turned over with the top of the wing now facing up. You can see the level on the back of the jigs confirming everything is straight. Once the top is glassed, there is no way to fix any twist in the wing, so this was checked in numerous spots. The right picture shows the routing of the rudder cable conduit.
The trailing edge “fishtail” is trimmed off and this allows for a perfect glass-to-glass trailing edge that is straight.
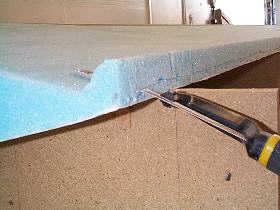
Once the top is completed, the inside wing ribs are constructed.
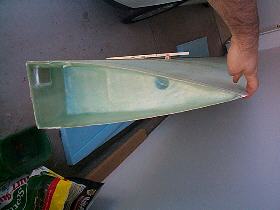 Here is the wing root rib that will eventually house the aileron belcranks and push rods.
The ailerons are cut out of the wing’s trailing edge, but I will hold off on doing this step until some cash can be saved up. On to the left wing………..