| Cozy Mark IV #1334 | Chapter 1-3 : Prebuild |
|---|---|
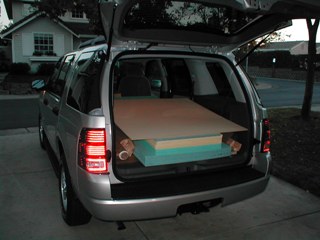
| 5 Nov 2004 I rented a SUV from Hertz to drive from Sacramento down to Aircraft Spruce in Corona (near LA). They gave me a brand new Ford Explorer that had never been rented before. I picked up materials for Chapters 4 through 9. I took this picture in my driveway prior to unloading. There was not as much stuff as I expected. There was still plenty of room. I returned the SUV less than 24 hrs after picking it up with nearly 1000 miles on it! Hertz had to process my reutrn in the office because their handheld unit assumed there must be some type of error! (It makes up for all my business trips where I rented for three days and drove ten miles) |
 |
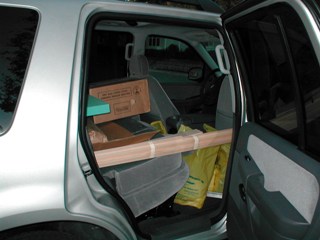
| 5 Nov 2004 The epoxy pump from Michael Engineering, the wood for the longerons, and lots of yellow bags are visible. |
 |
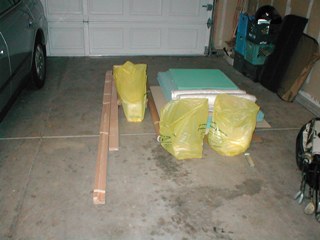
| 9 Nov 2004 It is amazing that the entire fuselage tub can be fabricated from this small pile of materials! |
 |
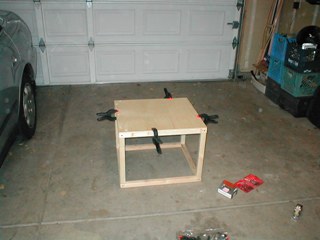
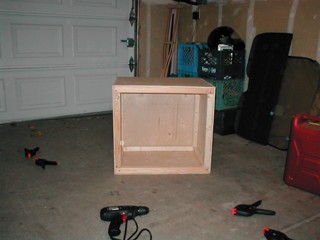
| 9 Nov 2004 Building the frame and attaching plywood sides for a hot box. The epoxy and the epoxy pump are stored in this box. When it is warm, it is much easier to wet out the fiberglass. |
 |
| 9 Nov 2004 Five sides of the hot box are done. It still needs a door and some insulation. |
 |
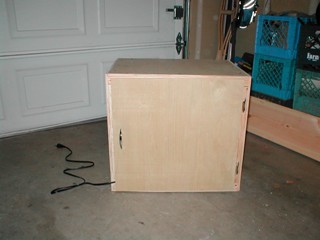
| 10 Nov 2004 Epoxy hot box with door, hinges, and handle attached. |
 |
| 12 Nov 2004 Here is the hot box after the insulation was installed. The insulation was cut from a cheap styrofoam sheet purchased at Home Depot. |
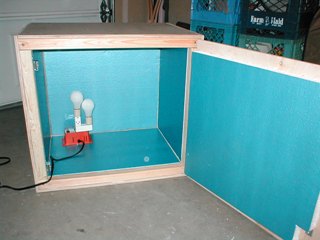 |
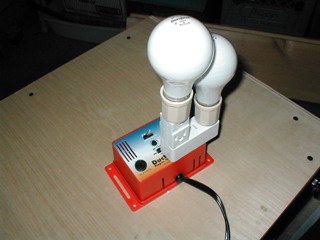
| 12 Nov 2004 Here is the heater setup. The thermostat is called a "DuctStat" and it was purchased from Home Depot online (not in stores AFAIK). It worked for over five years and then failed. When it failed, it stayed on continuously. Not having a better idea, I bought another and it is going strong. Two light bulbs are used so that one can fail and the box can stay warm until I notice it. |
 |
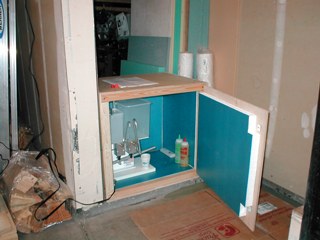
| 12 Nov 2004 The hot box is ready to go with the Michael Engineering epoxy pump
installed. I have to open the door to pump the epoxy. I decided not to get fancy and do as some others have done
and have the pump lever and epoxy tubes on the outside of the box. |
 |
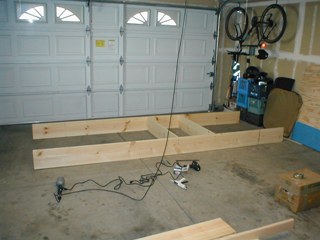
| 13 Nov 2004 Beginning to assemble a 4 ft by 12 ft work table from pine boards. |
 |
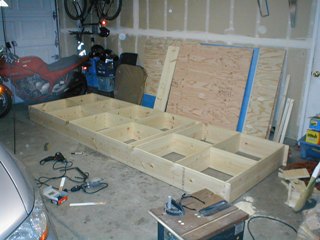
| 14 Nov 2004 Internal structure of the table is complete. |
 |
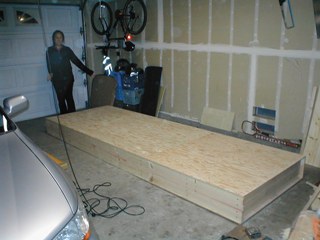
| 14 Nov 2004 Top and bottom plywood sheets have been attached to the work table. |
 |
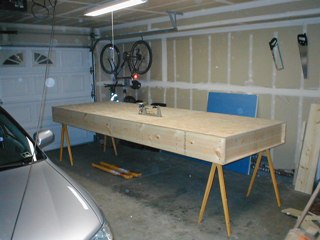
| 15 Nov 2004 I am using a pair of sawhorses as the legs for the table. So, when I don't need to use the table, I can still stand it on edge against the wall. Getting the table on and off the sawhorses is a job that I can just barely accomplish by myself! |
 |
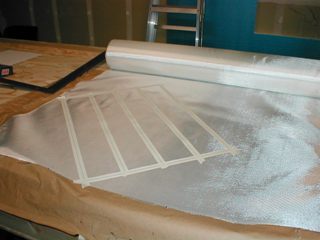
| 18 Nov 2004 In this photo, I am getting ready to cut some fiberglass cloth at a 45 degree
angle to the selvage edge for a practice layup. The cloth is marked out over-size and taped along the cut lines. The tape helps to hold the cloth
together after cutting it. The tape gets cut off later after the fiberglass is wet out. |
 |
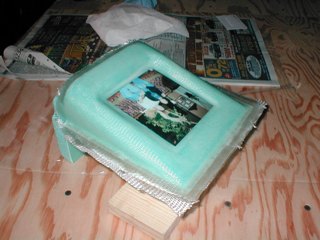
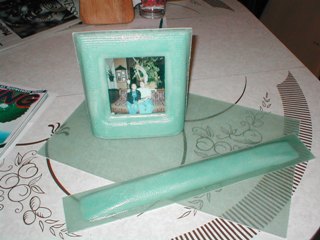
| 21 Nov 2004 This is the third practice layup under construction. If you can't tell, it is a book end with a photo emedded under a layer of fiberglass. |
 |
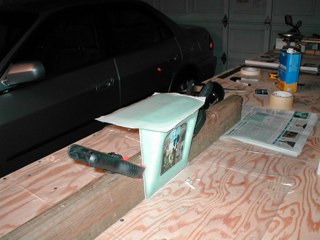
| 22 Nov 2004 This is the book end after the third layup. |
 |
| 22 Nov 2004 These are the three practice layups. The first is a flat sheet. The second is a strong bar, referred to as the "confidence layup" And, the third is the book end. |
 |