Cozy
Chapter 21 - Strakes
The Plan
In this chapter we will jig and build the fuel tanks and storage areas, install a sump, plumb fuel lines, fuel pumps, gascolater, and vent lines. All this sounds relatively easy and should be done in no time. Ha ha hah. Then all those mods come in to play! Cozy Girrl Strakes, etc.
 The bulkheads and skins are the first things to be made, old hat stuff no problems;-). Except for the CG strakes need to have different sized skins for the extended frontal area. Then that skin needs to be seperate so that they form properly at the leading edge V.
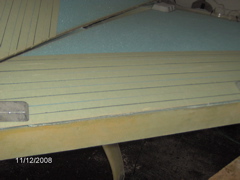 Then the bends are done different. You tape the skin with 1 inch wide masking tape 6 or 7 tapes wide. Slice between the tapes and bend open the cracks and fill with micro. This way they will hold their shape.
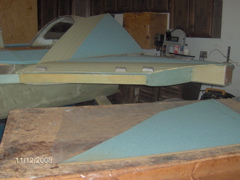
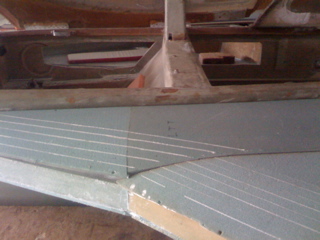
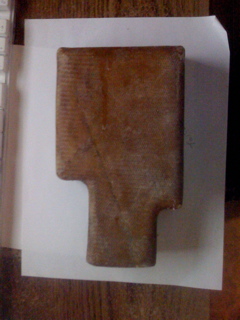
 With the CG strakes you build the bulkheads into their shape with attaching the bottom skin. Then you form the top skin and make the HAT sections, the bulkheads will be like a T. The hats can be clearly seen in this picture.
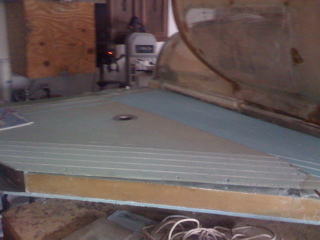 The bottom skins can now be installed and the inside work completed.
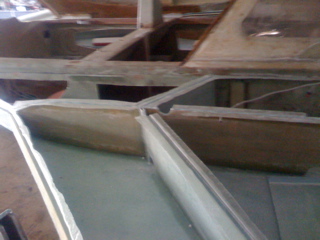
 The CG strakes need to go all the way to the instrument panel to allow for a comfortable elbow use of the area while flying. There are two different bended areas that will not allow for these to be made as one skin.
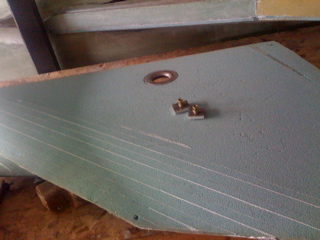 Here you can see the fuel cap installed and the drain plugs for the bottom front of the strakes.
 Here is where I really diverge from the plans!! I like the one tank design that Steve Wright uses in the StaggerEZ. I talked with him about how it could be adapted to work in a Cozy. He said just build a crossover under the seat or something similar. But I'm probably using auto fuel and was concerned about the fuels degrading the tanks, especially in the crossover where I wouldn't be able to Jeffcoat it. So the solution I came up with is as follows. Here is the tank drain, they are AN16 hardware welded onto a plate for support in the sides. That's a 1 inch opening.
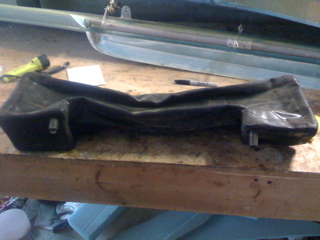 Those openings go to a fuel bladder, which is in the hell hole. I had this bladder made by Eagle fuel cells. It's a custom made fuel cell. There are 2 adapters for my Ford style in tank fuel pumps. The 2 adapters for fuel drains on each side of the NACA scoop. Also 2 adapters for the fuel to drain into the sump from the tanks. Ouch, almost a thousand dollars.
 To insure the bladder wouldn't get damaged by the motor mount bolts, Landing gear bolts and additional hardware, I placed a spacer into the hell hole first. They go under the aileron tubes behind the landing gear bolts and infront of the motor mount.
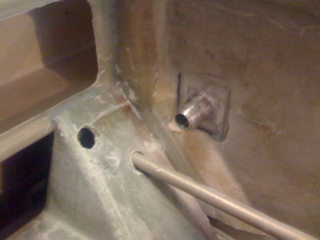
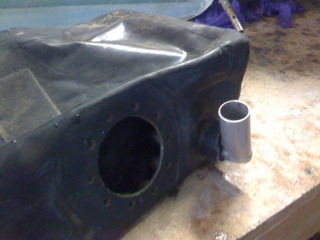
 This is the hardware that connects the fuel tank outlet to the bladder. It allows clearance between the aileron tubes and the bladder. I had to cut a hole thru the landing gear bulkhead, so I put several BID reinforcments around to help strengthen the area.
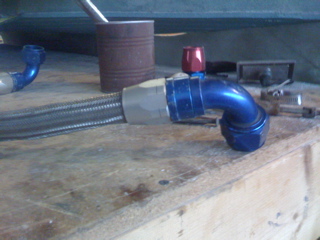
 This is an adapter to go from the AN hose to the bladder.
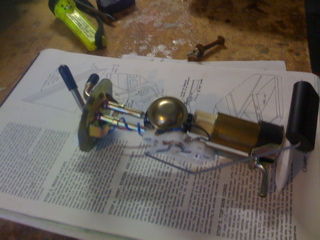 This is typical of a Ford style fuel injection pump. They usually come with a level transmitter also. This had to be removed so it would fit into the bladder. I also had to trim the size of the pump mount adapter to fit a standard fuel cell mount. Can you believe it, these bladders don't use the same kind of ring mount that Ford does. What's the world coming to.
 Here is one of the pumps installed into the bladder.
 Being the thrifty person I am, I could never waste a perfectly new fuel level sender. So I floxed in a couple click bond into the tanks and mounted the senders on them. Power comes from the instrument and then goes to ground.
Home | Chapters | Links